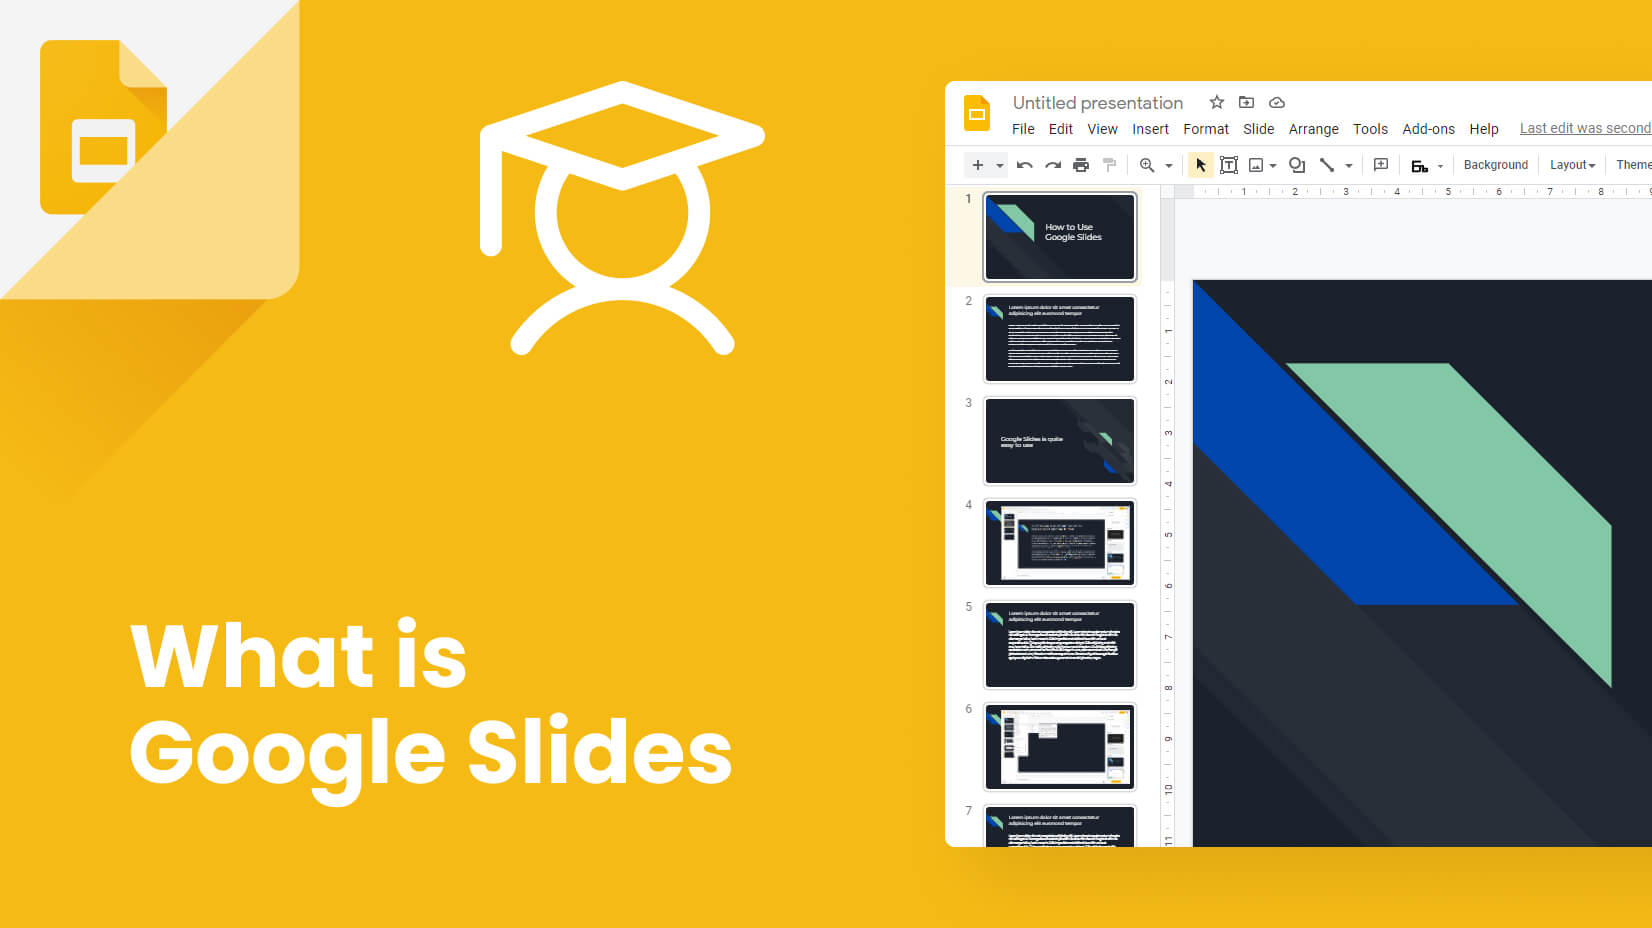
Google Slides is Google’s equivalent of PowerPoint for those who don’t know. While it has some differences, it shares many similarities with Microsoft’s product. However, over the last few years, it has gained a reputation as a reliable, shareable, and accessible (that’s the most crucial part) alternative to Microsoft PowerPoint.
Article overview:
1. What is Google Slides?
2. Who can use Google Slides?
3. Why use Google Slides?
4. How to use Google Slides?
1. What is Google Slides?
As we previously said, Google Slides is a direct competitor to PowerPoint. It is specialized in creating professional presentations for business, education, marketing, etc. However, it has some features that make it unique.
✅ Browser-based – all you need to have is a browser (preferably Google Chrome, but you’re not limited to it) and a Google account.
✅ Interconnected – since it is an online app, you can connect other apps with it it.
✅ Shareable – with a click of a button, you can give a link to somebody or download and send it to them.
What makes Google’s presentation tool a genuine rival to PowerPoint is working in teams. The whole idea behind Google Suite is to offer a unique experience for every user and ultimate convenience for groups.
2. Who can use Google Slides?
The best thing about Google Slides is that everyone can use it – from starters to industry professionals. We have to mention that Google Slides is very beginner-friendly. All you need to have is a Google account which is totally free. There are storage limitations, so you can’t create unlimited amounts of presentations. But you don’t need to. What you have in Google Drive as a capacity (15GB) is more than enough for an average user.
The best of all is that everyone can start using Google Slides, even though they have previously worked with PowerPoint. In one of our other guides, we have explained how to convert a PowerPoint presentation into a Google Slides one.
3. Why use Google Slides?
After all, a software’s actual value is what customers can actually access. Without its significant competitive advantages, Google Slides wouldn’t reach such heights. But it did. Let’s see why.
3.1 Easy to use
One of the most significant advantages of Google is that it is effortless to use. Google Slides is only a tiny piece of the puzzle. The company aims to offer a great experience to its users and no trouble in their user experience journey. That is why you won’t find something out of space in Slides. Google is consistently updating its product. They are also making decisions based on how often a tool is used in Slides, and if it’s not – they hide it.
3.2 Browser-based
We have already mentioned in the intro that Google Slides is browser-based. This gives it a massive edge over desktop apps since it becomes very easy to edit, share, and store. Instead of saving local copies of the files (and eating up space), you can save them on Google Drive. Which happens automatically.
3.3 It supports many file formats
Among the key advantages of Google Slides is its compatibility with file formats. It supports .odp, .ppt. .pptx. .pptm, .ppsx, .pps, .pdf, etc. This means you can load Open Document and PowerPoint presentations in Google Slides and save files in those formats, or, vice versa, open presentations made in Google Slides in PowerPoint (and other pieces of software).
3.4 Simple sharing and collaboration
Another area where Google Slides shines is file sharing. You had to work on your file back in the day, then save it to other people assigned on the presentation (group project), and everyone had to enter their part. Nowadays, you can work on the same file simultaneously. This is especially useful for classmates and colleagues who work on similar projects, as they can view the progress of others and comment on it.
3.5 Different templates and embedding options
Google Slides lets you add different themes and change their design. By changing the theme builder, you can update anything with a click. But it doesn’t end here – you can also embed videos (from YouTube, for example), images, add audio, and GIFs. This makes presentations much more interactive.
4. How to use Google Slides?
Google Slides is not that hard to work with. Let’s see some of the most routine tasks that people have to go through and the steps to make them.

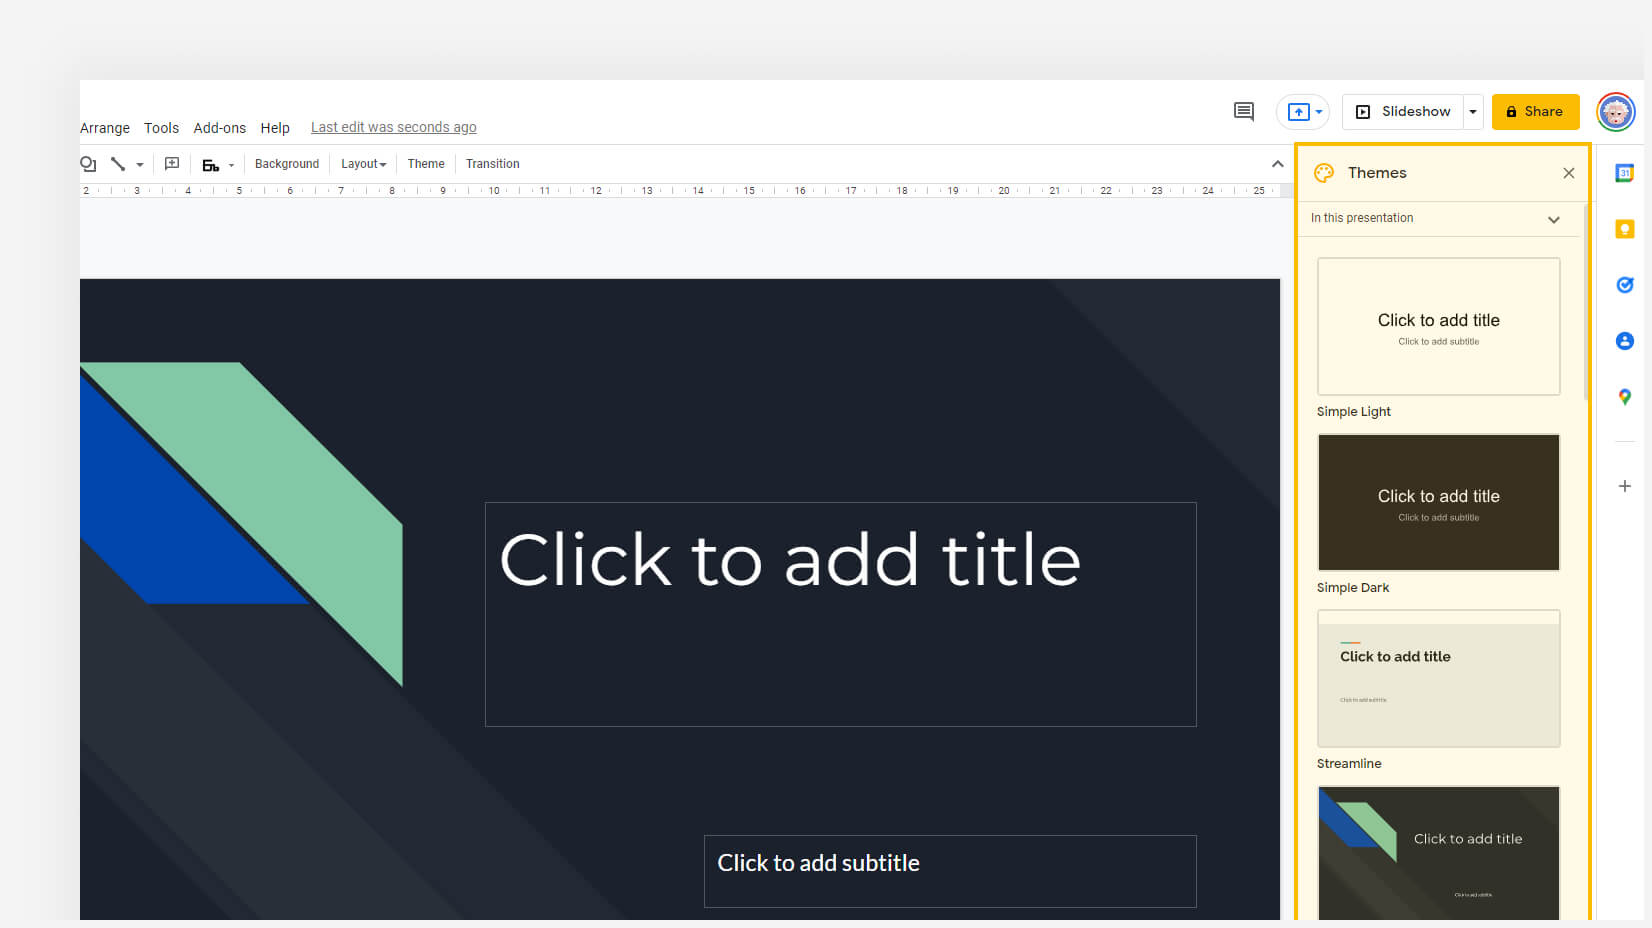
Google Slides User Interface
A – Menu Toolbar. This is your go-to place for most tasks. You can open and download files, add new slides, format your slides, or add elements (such as audio, video, etc.).
B – Slide Grid. You have two options – horizontal and vertical (by default).
C – Comment History. It is especially helpful when you collaborate with peers on presentations.
D – Google Meet integration button. With this tool, you can start a call from Google Slides.
E – Slideshow. When you click it, the presentation will become fullscreen.
F – Share button. It’s what makes Google Slides famous.
G – Current Slide. When you’re on it, you can edit it.
H – Speaker Notes. Speaker notes are present only for the person who sees the computer
I – Explore. AI-generation slide variations which take into account the content you’ve added to the slide.
J – Themes. A selection of themes to serve as background for your slides.
4.1. How to create a Google Presentation?
Let’s start with the first thing – how to create a Google Presentation. Before we start, let’s clarify the difference between a theme and a template. While both are similar in a way that they allow you to change the background, font, font size, font color, etc., templates allow for further customization by enabling you to add external elements into your presentation – for example, images.
Step 1. Open Google Slides
Step 2. Select a template or create a brand new presentation
Now, you can click on the “+” button to create a new blank presentation or use a template you wish to edit from the default ones.

Step 3. Add a theme (Optional)
There are some excellent default options that you could use. For this reason, you should simply scroll down to pick a theme you would like to use and then right-click on it.
4.2. How to open a presentation in Google Slides?
If you have created a presentation or a colleague/classmate has also worked on a project, you may need to open a presentation and continue working on it. So, how to open a file?
Option 1:
Step 1. Open Google Slides
Step 2. Create a presentation
When you open Google Slides, you can follow step 2 from 4.1. and click on the “+” button or select a presentation under the category “Recent presentations.” You can find your recent projects. If you haven’t worked with Google Slides previously, you might not have files available here, so you should click on the white slide with a “+” sign.
Step 3. Open a presentation
Once you are on the main screen, you can add your presentation (or any file in supported formats). You can either go to File->Open or use the quick command Ctrl+O (Cmd+O for Mac users). Then, the application will load the selected file from your hard drive and will convert it into a Google Slides presentation. You can open different OpenDocument presentations (ODP), PowerPoint presentations (PPTX), image formats (like PNG and JPG), vector formats (SVG and PDF), etc.

Option 2:
Another way to open presentations in Google Slides is to open Google Drive and upload your presentations in there. Then you can easily open them with a double click.
4.3 How to create a new slide in Google Slides?
Creating new slides is an essential part of making great presentations. As you may know, stacking too much information on the same slide is not considered a good move, and that is why you should add just enough on each slide – to keep your audience engaged and add your speaker notes and fit them in.
Step 1. Open your presentation in Google Slides
Step 2. Choose where you wish to add your slide
It’s vital to know where you would like to add a slide. By default, slides are added one after another, which means you will start with a single-page presentation, and all the slides you add are added afterward. Keep in mind you can insert a slide wherever you wish – just select the place where you would like to add your next slide.
Step 3. Add new slide
Adding a new slide is easy. Once you have marked the previous slide, you can add a new one by clicking on Slide->New Slide or with the command Ctrl+M (Cmd+M for Mac users).

Now you are ready to replace the titles and paragraphs with your own text and maybe add some bullets, charts, or visuals to create your first presentation even better.
5. Continue learning
If you want to master Google Slides, take a look at our tutorials for the popular presentation software:
- 20 Google Slides Tutorials To Master Presentations – 20 really useful tutorials to learn all the features in Google Slides and become Google Slides Master.
- How to Add Fonts to Google Slides? – A quick guide to learning how to work with fonts in GS. You will learn how to add custom fonts and impress your audience.
- How to Make Google Slides Vertical? – Changing the dimension may be important if your presentation will be used on screens with other resolution mobile devices.
- How to Create a Radial Chart in Google Slides? – Presenting data with visuals is crucial for your audience engagement.
- How to use Google Slides offline? – Opening your slides without an internet connection can save you from a bad situation, so don’t miss this useful tutorial.
- How to Make Google Slides Look Good? – Some useful ideas to help you design your presentation.
- How to Add and Show Speaker Notes on Google Slides? – Having speaker notes in front can let you present with more confidence and forget no details from your presentation.
- How to Add a GIF to Google Slides? – GIFs can make your presentation more interactive, thus driving more attention to key areas.
- How to Add Audio to Google Slides? – Adding audio to your Google Slides presentations can add more value to the images inside, or prove a statement you’ve made.
- How to do a Hanging Indent in Google Slides? – Hanging indents are used for citations and they can make your Google Slides presentations much more credible in front of an authoritative audience.
- How to Draw on Google Slides? – Drawing can help you create powerful graphics for your presentations that aren’t available as templates.
- How to Convert PowerPoint Presentation into Google Slides? – Knowing how to convert PowerPoint to Google Slides will help you present on other computers, and allow easy editing.
And if you want to improve your presentation skills, you can browse some of these useful tips and insights:
- How to Calm Down Before a Presentation: 10 Practical Tips and Techniques – A pocket guide that can help you tackle the notorious stage fright before speaking in front of an audience.
- How to Start and End a Presentation: 10 Practical Tips – Useful advice to make an impression during the two most crucial stages of each presentation – the beginning and the end.
- 4 Invaluable Presentation Design Tips You Wish You Knew Earlier – Utilizing an unorthodox approach in your designs might make you more interesting to your audience.
- 7 Weird Myths About Using Cartoons in Presentations – Debunking myths about using cartoons in presentations and useful tips on how to perfectly fit illustrations.
- 8 Key Presentation Ideas to Steal The Audience – Some superb presentation advice garnered with video content.
- How to record a Zoom presentation and present it in a virtual meeting? – An amazing way to sound like a TEDx speaker and impress your colleagues.
Conclusion
Working with Google Slides is easy. Since the platform is online-based, it is created with collaboration in mind – you can share it with colleagues, classmates, and friends and work together. Of course, the presentation isn’t perfect – it isn’t as feature-rich as Keynote and Microsoft PowerPoint, but it has everything needed for a successful presentation.