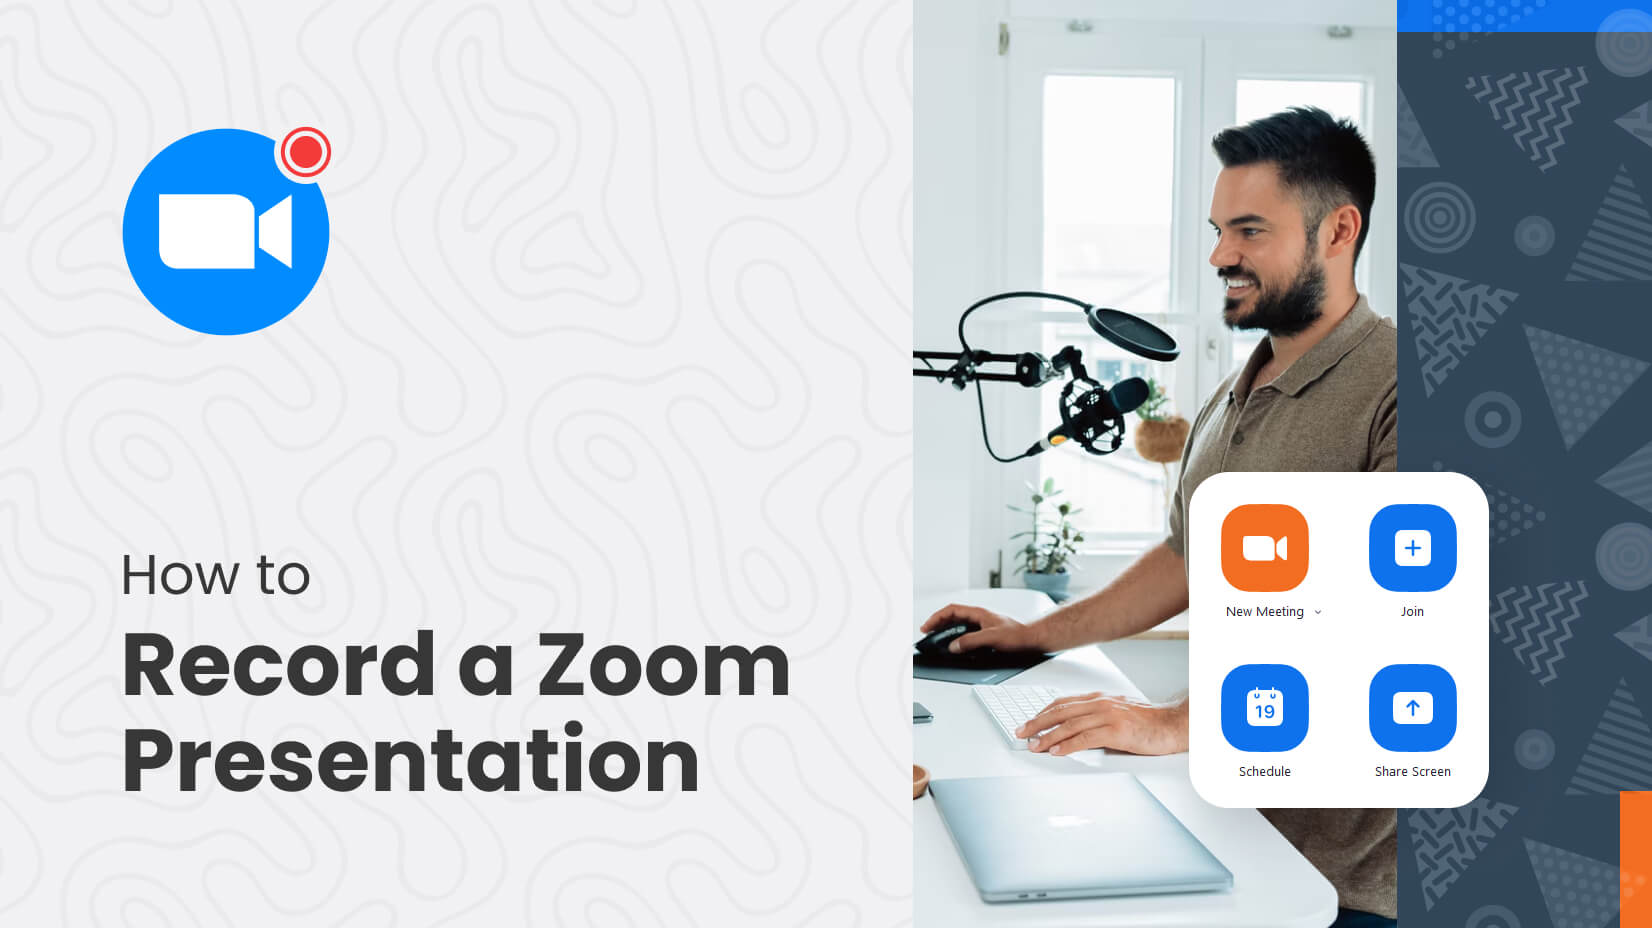
Many big companies had to establish home office practices in 2020 and Zoom became the most popular tool for virtual meetings. Virtual meetings are now crucial for business and education and they are here to stay.
If you’re a teacher and have difficulty maintaining class control, recording your lessons is a great way to save time. Instead of spending hours rehearsing your lessons and guiding students every step of the way, you can record a professional presentation for your students to watch at home. They’ll be able to watch it in their own time, over and over again – so you no longer have to answer questions on the spot!
Also, if you’re a business person, your audience can listen to the presentation afterward, thus they can learn more about your subject, and not embarrass themselves in front of other business people if they dare to ask questions.
And this is where Zoom came in. It successfully replaced physical meetings with digital ones. So, if you haven’t worked with Zoom yet, you will sooner or later get more familiar with it. In this guide, we will teach you how to record a Zoom presentation, so you can share with other people in the meeting your recent work or study progress.
Article overview:
1. Should you use Zoom for presentation recordings?
2. What is the difference between video conferencing and video recording tools?
3. How to record a Zoom presentation?
4. Bonus: How to Make a Transparent Camera Background When Presenting?
1. Should you use Zoom for presentation recordings?
Before we get into the essence of the topic, we need to mention a couple of reasons why Zoom is a good choice for recording presentations.
- It’s secure – popularity plays a huge role. Famous apps receive more updates and are more secure since they want to keep their customers behind them.
- The free version is more than decent – the free version allows you to have a video conference with other people for up to 40 minutes and have up to 100 call participants.
- It’s popular – Maybe you already tried Zoom and you are familiar with the software. Also, it is used by many companies and you can ask a colleague or friend for help.
2. What is the difference between video conferencing and video recording tools?
In one of our previous articles, we showed you how to record a presentation using different tools – like Loom, Panopto, QuickTime, and Game Bar. We highly recommend that you dedicate some time for practice at home before presenting to other people. Stuttering and mispronunciation of words are not good signs for how well you are presenting. On the other hand, video conferencing tools like Zoom and Google Meet are made for people who are recording in real-time.
3. How to record a Zoom presentation?
Zoom is a great application for delivering high-quality presentations with ease. The tool enables you to record your screen, camera, and voice with just a few clicks of a button. You need to follow some steps that we’ll show below.
Step 1. Create a Zoom account
The first step is to create a Zoom account. You are assigned to a free plan by default but you can also explore the paid options if you need to. If you’re assigned to present in Zoom but you’re a guest, it’s often the admin who holds a premium account.
Step 2. Download the desktop app
Once you have opened your Zoom account, you have to download the desktop app on your computer and install it.
Step 3. Create a meeting / join a meeting
When you are all set, you are now able to host your meeting. You have two options to start a meeting: New Meeting is the option used for immediate meetings, or Schedule – to plan your next meeting ahead of time. You can also join a meeting if someone shared a meeting link with you. There is a Meeting Id required for some meetings, so the host should provide you with that in advance. It’s a combination of numbers.

Step 4. Select how to join the meeting
Zoom will ask you to confirm which audio and video settings you are going to use. Many people prefer to present only the slides, while others want a more realistic experience – with the camera on. Start without video and Start with video are self-explanatory, so we won’t dig into details.
Step 5. Click on “Share Screen”
The next step is to select Share Screen from the Zoom control bar. You have to also press Record at the beginning of your meeting (or presentation), and just click Pause/Stop recording. Pausing the recording is reasonable when the others are discussing topics nonessential to the presentation (off topics), stopping the recording is the moment you want to end it.

Step 6. Pick the screen you want to share
You can share your screen (you will have two options if you have two monitors). When you have a Keynote or PowerPoint tab open, you will find them as available options. This is when you should click on them. If your presentation is made in Google Slides, or you have it in iCloud or OneDrive, then you have to find the relevant tab and pick a Slideshow mode for the applicable program. We advise you to remove any unrelated tabs beforehand, as they will be visible to your audience and could distract you to find the presentation file fast enough.
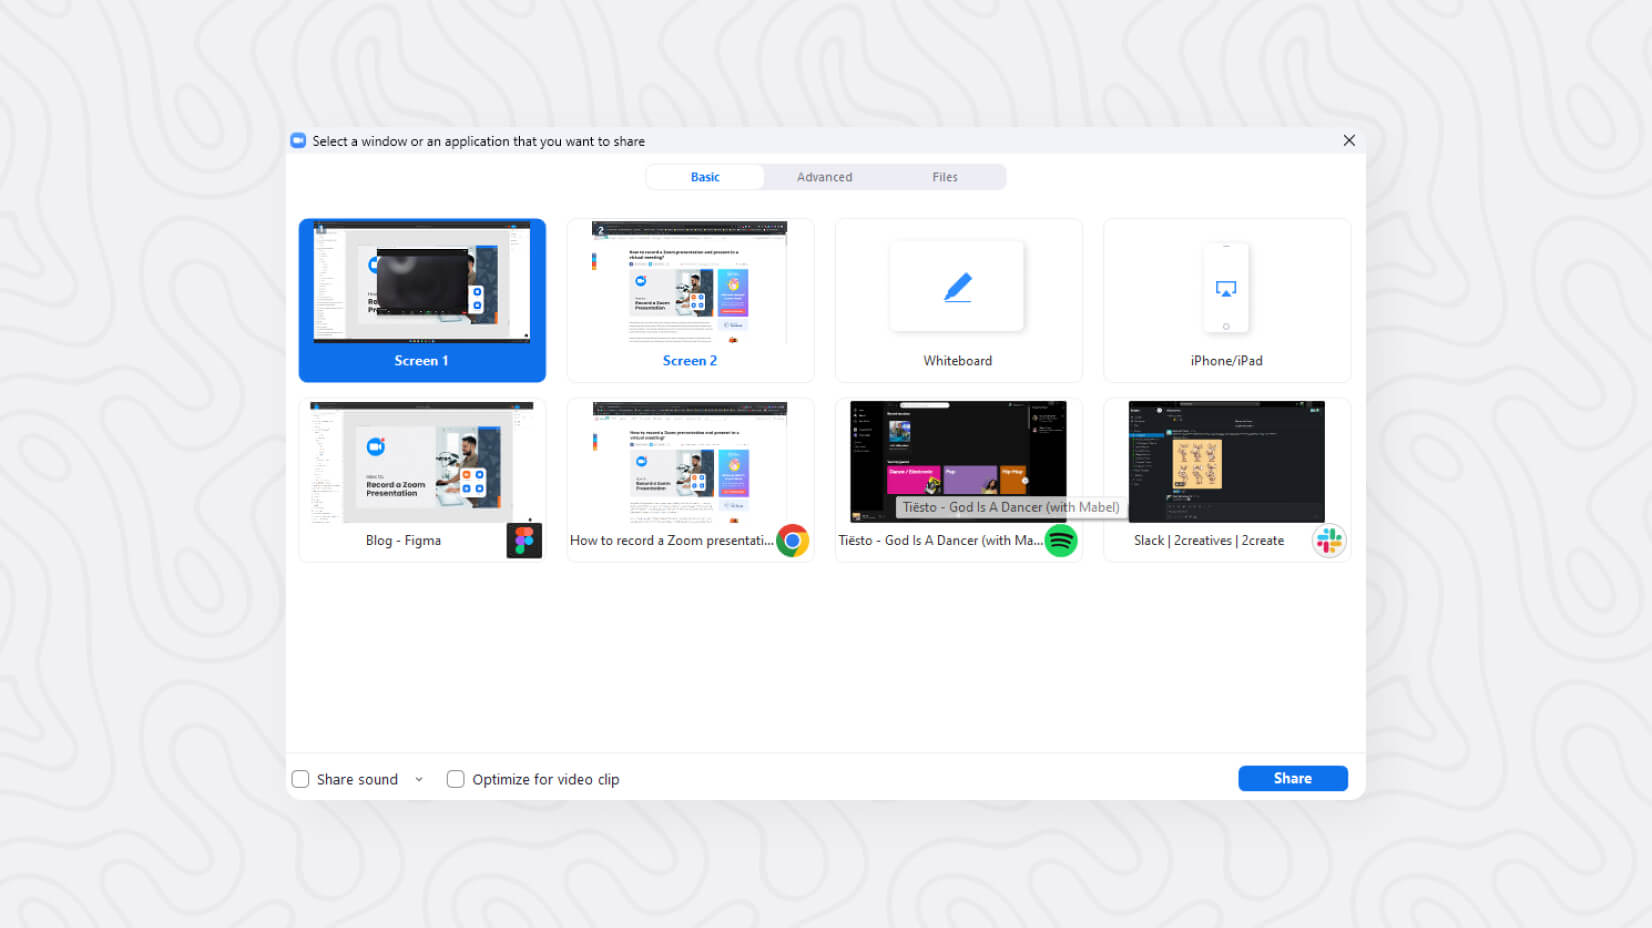
A quick tip: If you hold a lot of valuable info on many tabs, you can create a new Google Chrome window to click on it easily.
Step 7. End the recording
If you have presented everything, you can now end the Zoom recording. If there is nothing else to add, you have two options – Leave Meeting if you are invited or you are admin but you want the meeting to remain, or End the Meeting for all in case you want to end the Zoom meeting and kick other participants.
Step 8. Export the recording
When you are ready with the recording, you will have access to it. In order to download (or export) your recording, you should log into your Zoom account, then select My Account, and from the menu on the left click on Recordings. You will now have access to all recordings that you have made. To download them, you have to checkmark the ones you wish to download and click on Export.
4. Bonus: How to Make a Transparent Camera Background When Presenting?

Who wants to clean the entire room, in order to stream their camera? Nobody. Luckily, there is an option in Zoom where you can present with a webcam without any background. It is working with Microsoft PowerPoint, and it is really simple. (Please, have in mind that this works best with clean color backgrounds such as green or white).
- Start a new meeting.
- Then click on the “Advanced” tab.
- Select “Slides as Virtual Background“.
- Pick your PowerPoint presentation.
- Finish the task by clicking on “Share“
Conclusion
Recording a presentation requires different skills today. While several years ago, you could get away with a decent presentation design and compensate for it with great speaking abilities, nowadays programs give you plenty of options to add creative visuals and impress the audience. Zoom is an amazing app that enables you to present to up to 500 people at the same time. However, knowing how to record a presentation in Zoom is just one part of being successful.
If you find the guide useful, why don’t you check some of our other presentation-related tutorials:
 100vw, 756px\" data-jpibfi-post-excerpt=\"\" data-jpibfi-post-url=\"https:\/\/graphicmama.com\/blog\/hanging-indent-google-slides\/\" data-jpibfi-post-title=\"How to do a Hanging Indent in Google Slides in a Few Steps?\" data-jpibfi-src=\"https:\/\/i.graphicmama.com\/blog\/wp-content\/uploads\/2022\/03\/28072752\/hanging-indent-in-google-slides-756x420.jpg\" >")