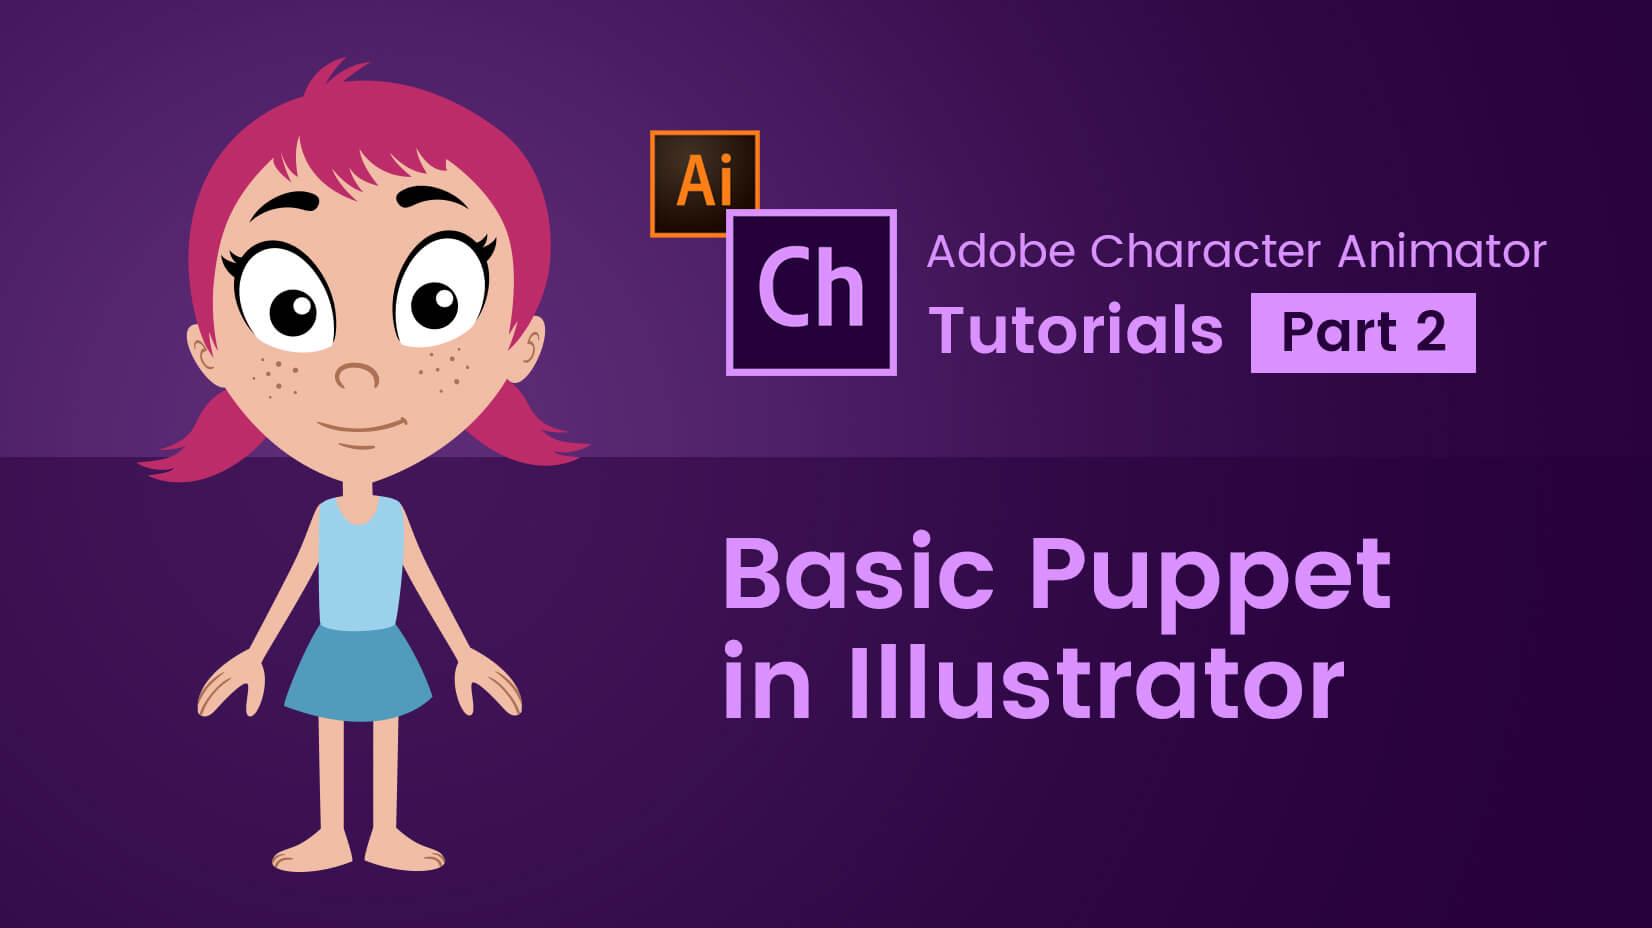
In the previous tutorial, we learned what Adobe Character Animator is and how it works, now it’s time to really get our hands dirty! In this second chapter of our CA series, we will learn how to create a fully functional character in Adobe Illustrator! One important thing you need to know is that when you upload your character in Character Animator, it is called a puppet. We will also use this term to describe a character that is being prepared to be used in CA.
But what about those of you who prefer to make their puppets in Photoshop? Read our tutorial on How to Make a Character Animator Puppet in Adobe Photoshop.
In this article:
1. Naming & Structure
2. Automatically recognized facial features
2.1. The eyes
2.2. The eyebrows
2.3. The mouth
Let’s get started!
1. Naming & Structure
The way you name your layers and groups is very important because Character Animator uses these names to recognize the puppet’s body parts. When working with Adobe Illustrator to create a puppet, an easy way to arrange it correctly is to use only one layer and multiple groups within it, containing the different body parts of your puppet.
Let’s take this simple character and do just that!
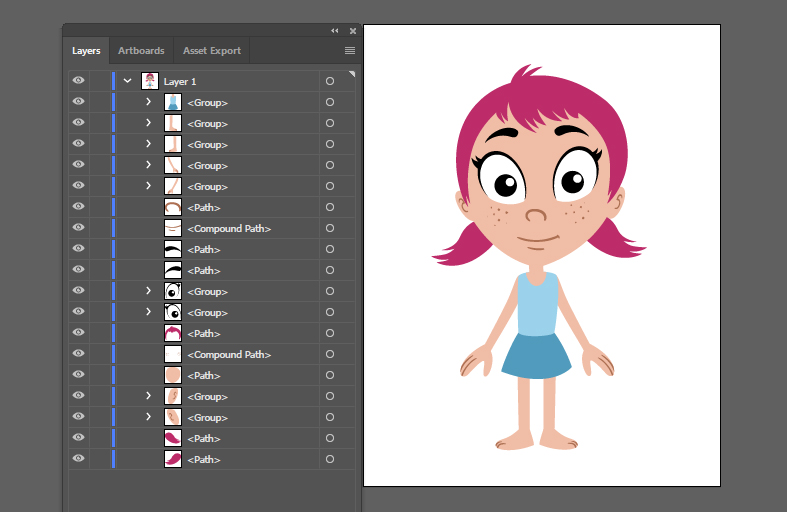
As you can see all of this little girl’s body parts are in one unnamed layer. It’s a good idea to give the layer your character’s name or description (ex.: boy, child, woman, etc.) I will name it +Vicky since her name is Vicky. But what is more important is the + symbol in front of the name.
The plus symbol: + is a crucial element in the naming of layers and groups in CA. It indicates that a layer or a group is Warp Independent, meaning it can be moved independently to the rest of the body.
We will use the + for other names soon but first let’s create a head and a body group.

You can see, in the +Vicky layer, I now have a group with head and a group with body parts.
Character Animator recognizes the words head and body and assigns the appropriate behaviors accordingly. To avoid confusing the program, you should use these words only once – in these group names. That way CA will know these are the correct head and body of your puppet.
Moving on! Inside each of them, I have grouped the elements that will not move independently or have no behaviors assigned by the program. In the head group, these are the face shape, the ears, the nose, the freckles and the top part of the hair. In the body group, these are the torso, skirt, and the legs.
Next, let’s name the elements that we want to assign behaviors to later.

Here you can see the + symbol appearing again. Vicky’s arms now will be able to wave around independently.
I decided that later I want to assign dangle behavior to her ponytails, that is why they also have a + in front of their name.
Now, we will continue with naming and arranging the facial features of the puppet that are automatically recognized by Character Animator. They have their very specific behaviors, that is why they get their own section.
2. Automatically recognized facial features
These are the eyebrows, the pupils, the blinking, and the mouth shapes. The amazing thing about CA, is that if you name and arrange these elements correctly the program will animate them for you. In a few quick steps, you can bring your puppet’s still face to life! Let’s see how!
2.1. The eyes
We will start with the eyes. You need to name them Left Eye and Right Eye, according to your puppet’s body, not your screen. Then name each pupil +Left Pupil and +Right Pupil. Don’t forget the + in front of the pupils names, that way your character will be able to look around.
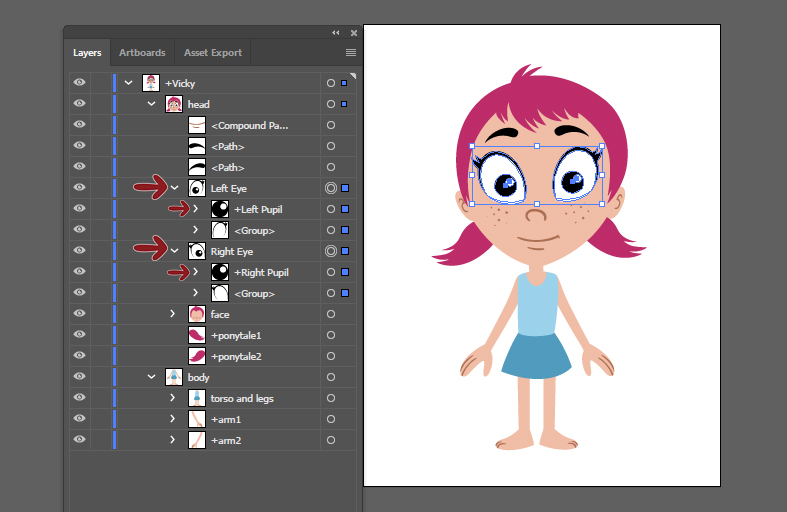
You should name the white parts (the eyeballs) of the eye Left Pupil Range and Right Pupil Range. CA recognizes the elements with this name as boundaries for the pupils of the puppet. Vicky also has eyelashes but they are a decorative element, they have no function but aesthetic. So I can name them whatever I want.
All the other names we talk about in this section are recognized by the program that is why it is important to use them correctly and use them only once.

Next it’s time for the blinking eyelids! I will create eyelids for Vicky and name them Left Blink and Right Blink. Remember! Every time you blink Character Animator will show the closed eyelids of your puppet and make everything else that is in the same group as the eyelids invisible. That is why the eyelids of your puppet need to be in the same group as their eyes. Like this:

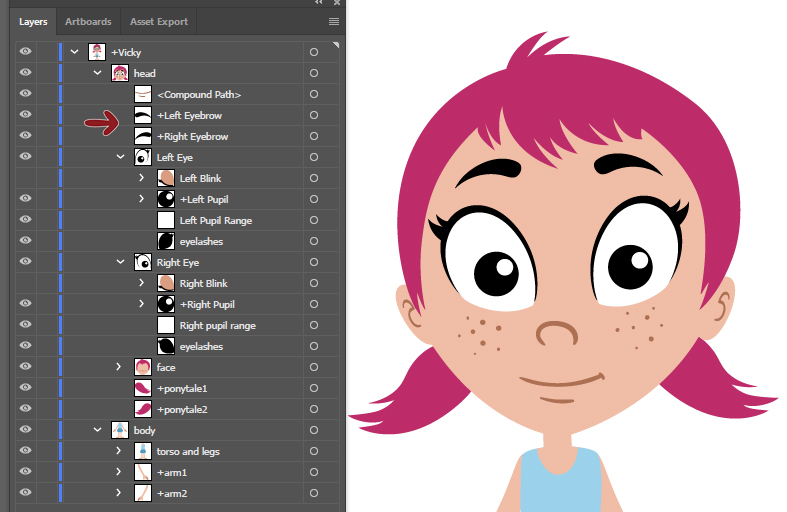
2.2. The eyebrows
I will leave the blink groups invisible and move on to the eyebrows. Here we see again the + symbol. As you can already guess you should name them +Left Eyebrow and +Right Eyebrow. These are the last elements where we will use the + symbol. Next is the mouth, but first let’s see how everything looks so far.
2.3. The mouth
As I mentioned earlier the mouth shapes are the only element in the puppet that is generated according to sound. But this does not mean the program generates mouth shapes by itself. These are for us to draw first! 🙂 There are 14 different mouth shapes that every fully functional puppet needs to have. For the sake of this tutorial let’s say we already have the 14 mouths and explore each of them.
An interesting thing is that 3 of these mouths are actually generated by the webcam image rather than the sound. Those are Neutral that is whenever there’s silence and your face is at rest. The other two are Smile and Surprised, that are generated when there’s silence and you smile or open your mouth wide.
When you have all your mouth shapes you should put them all in a group named Mouth. Here you can see how the mouth shapes are presented in the program. They are there as an example of how your puppet mouth should look and how they should be named. Below you can see my versions.

This ends our second tutorial! Now you have a fully functional puppet in Adobe Illustrator.
Click here to download the Vicky Illustrator file.
Thank you for following and stay inspired!
Continue with more Adobe Character Animator tutorials: