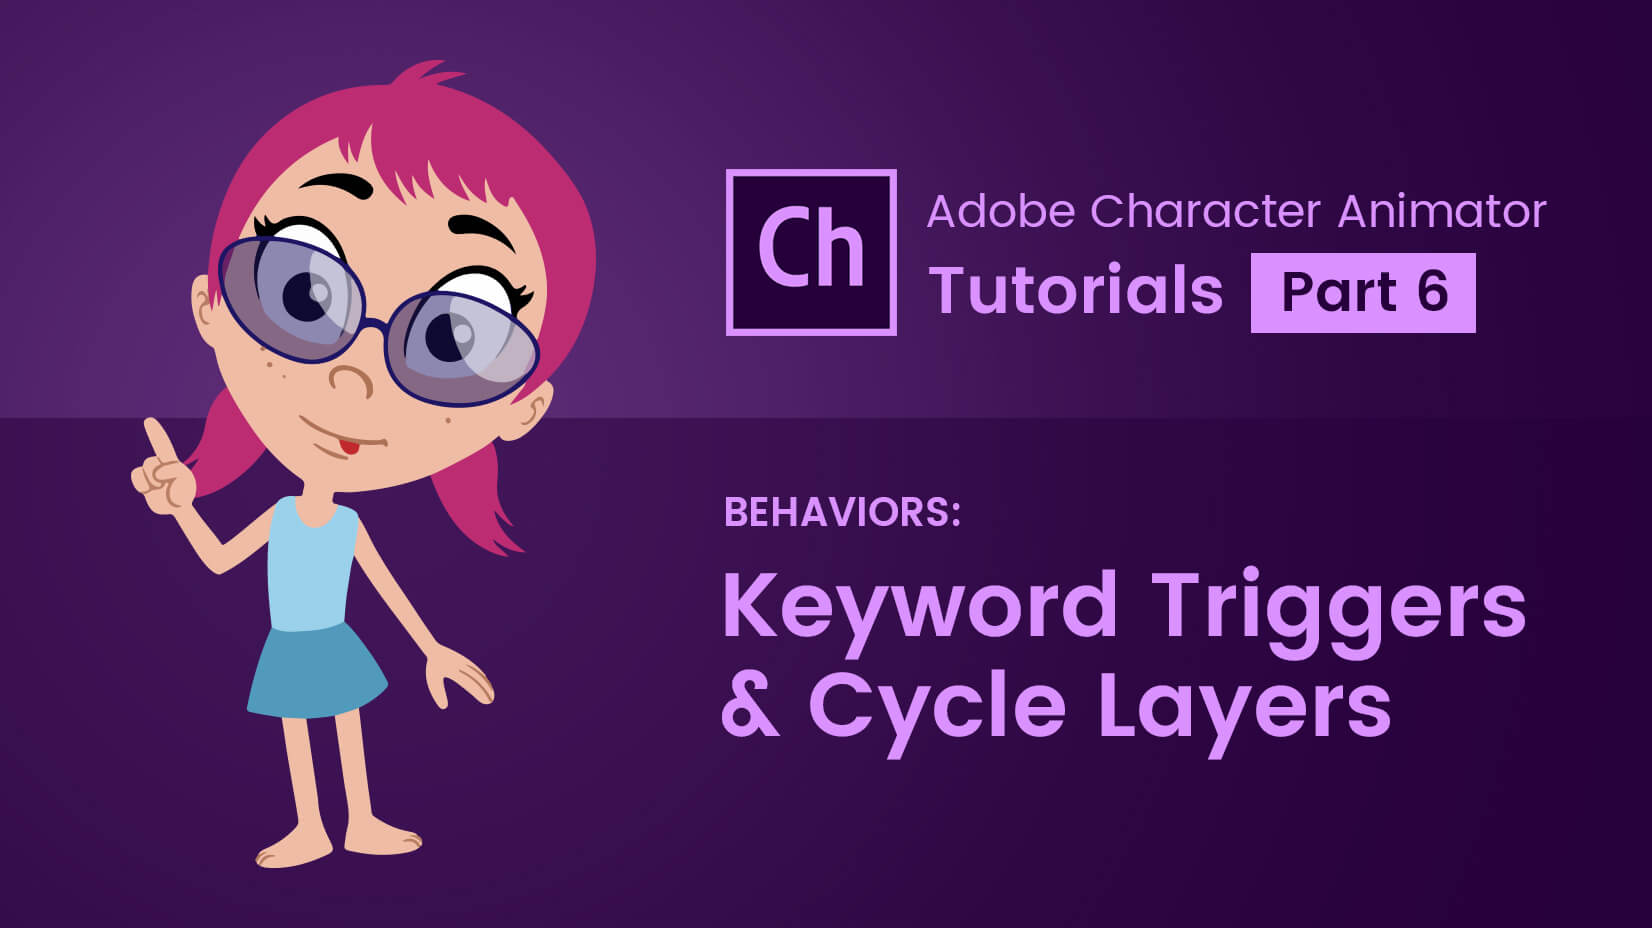
Welcome to Part 6 of our Adobe Character Animator Tutorial series. Last time we opened the topic of Behaviors, today we will continue with two very interesting and commonly used behaviors. These are the Keyboard Triggers and the Cycle Layers.
In this article:
1. Keyboard Triggers
2. Cycle Layers
1. Keyboard Triggers
What this behavior does is to add a new element or substitute an element with a new one, through a keyboard shortcut. It’s very useful for changing hand gestures, putting objects in the hand of the puppet, adding other mouth shapes and a lot more. Let’s explore a simple example. Let’s say we want our Vicky puppet to point. First we have to draw a pointing hand and rearrange the whole arm a bit.

Open the Illustrator (or Photoshop file) and duplicate the arm.

Select the copy of the arm. Using the Eraser tool, delete everything else but the hand. Rename the remaining group (layer in Photoshop) to “normal”. Put it inside the +arm2 group, or if you are using Photoshop, group it with the +arm2 layer.

Now make the new normal hand invisible. Select the original +arm2 and this time delete only the hand. Now you have a separate hand and arm (from the shoulder to the wrist).
Let’s draw a hand pointing its index finger and group it with the normal hand.

Now in the group +arm2 we have the arm – from the shoulder to the wrist and a Hand group containing the normal hand and the pointing one.
Leave the pointing hand invisible, so we can see only the normal hand. Let’s click Save and see how the changes are incorporated in Character Animator.

As you can see, the new group with the two hands appears in Character Animator. Here’s where the Keyboard Triggers come into play. Click on the point layer and in the Properties panel all its settings will open. There are Layer, Layer Mesh, Tags and Trigger.
Open Trigger and check out the options.

First you have Key. This is the keyboard key that when clicked will show the point hand. I chose the 1 key, but you can choose any letter or number.
Below Key, there’s Latch. If you select Latch, when recording, you will need to press the trigger key only once and the new element (the point hand) will stay visible until you press the key again. If Latch is not selected you will need to hold the trigger key for the point hand to be visible. For now, I don’t need Vicky, our puppet, to hold her finger pointed for a long time so I will leave Latch unselected.
Below Latch, there’s Hide Others in Group. When selected, it will hide the other elements that are in the same group, in this case the normal hand. We need to use it anytime we want to substitute one element with another.
Ok, now let’s see what happens in Record mode, when we click 1.
Whenever I click 1 on my keyboard the pointing hand appears. With my mouse I can drag Vicky’s arm to point in any direction I decide.
The Keyboard Triggers behavior is often used for adding another element to the puppet, for example some kind of accessory. Let’s try it with Vicky! I will draw a pair of sunglasses for her.

After drawing the sunglasses, I left them invisible in my Illustrator file. Now, let’s choose a trigger key. Let’s take 2. This time I will select Latch, so I will be able to keep her glasses on without my finger staying on the key. As for Hide Others in Group, this time I will not use it. If I do, Vicky’s whole head will disappear and the glasses will float in the air. 🙂
Let’s see how it looks!
The Keyboard Triggers behavior gives a lot of opportunities for creativity! Gestures, accessories, color change, different mouth shapes! But to really make it look good, we should use the Cycle Layers behavior.
2. Cycle Layers
Cycle Layers behavior enables you to create frame by frame animation. When added to a group, it cycles through all of its layers showing them one by one. You can change the movement and the effect Cycle Layers creates by changing the different setting. Let’s do a short animation and see how it works.
I want to animate Vicky’s tongue coming out so I need to draw the different frames in Illustrator.

I drew 5 frames of animation of Vicky’s tongue going out of her mouth and then inside again.
I put all of the frames in one group and numbered them in order of appearance.
Let’s Save these frames and go back to Character Animator.

We don’t need Vicky constantly sticking her tongue out so we will use a trigger key to only show it when we want to. Let’s choose key 3, and don’t forget to click the Hide Others in Group option.
Now let’s go below to Behaviors and click the big + to add a new behavior to this element.

In this menu you can see all of the behaviors you can add to the selected element. I will choose the Cycle Layers behavior and let’s check out the different settings it offers.

From Start you can choose when the animation will start. In our case we need When Triggered. The other option, Immediately, is useful for other types of animation, like creating a continuous motion effect etc.
Next is Layer Order.

You can choose what order your animation will go in. Let’s stick with Top to Bottom.

From Advances Every, you can choose how fast the animation will go. I usually use Advance Every 1 frame, because it looks the best, but it depends on the effect you want to create.

Next is Cycle. Again, it depends on what effect you are trying to create. But for this particular case with Vicky’s tongue, we will choose Once.

Forward and Reverse, when selected will play the animation and then reverse it. It’s very useful when you want to animate a single movement and then return to the default position of the puppet. We will not use it for Vicky’s tongue but let’s see how it looks if we do.
Notice how if I hold the key too long the mouth disappears altogether. Here’s where the next setting – Hold on Last Layer will help.

Let’s see how it looks used on it’s own and in combination with Forward and Reverse.
When you are using both Forward and Reverse and Hold on Last Layer, the reverse animation starts only when you release the key trigger.
For this particular animation we will use only Hold on Last Layer. Let’s move on to the next setting. This is On Trigger End.

This setting controls what happens when you release the trigger key. Let Cycle Finish will finish the animation even if the key is still pressed. Stop Immediately will stop the animation when you release the key whether it’s finished or not.
See how both options look.
You can see how when Stop Immediately is selected the animation is cut off when I release the trigger key. It could show just the first 1 or 2 frames if I press and release the key really fast. For this animation it doesn’t work so well but it can be used in other cases. Let’s keep the Let Cycle Finish on and continue.

Pause-Layers gives you the option to pause the animation on a given layer and then continue. To use it first you have to tag the layer you want to pause on with Cycle Pause tag. It works like this. Open the animation group in the Puppet panel. In our case the tongue group. Select the layer you will pause on and open Tags in the Properties panel.

You need to scroll down to the bottom of the panel. The Cycle Pause tag is in the Miscellaneous tag section. Simply select it and you can see how the tag now appears on the puppet preview.

Now return to the Cycle Layers behavior by clicking on the tongue group in the Puppet panel.

You can see that below Pause-Layers it’s says 3. That is the name of the layer we chose to pause on. On the side it says 1, because we have one layer tagged with the Cycle Pause tag.
Let’s see what happens when I click the trigger key for the tongue animation.
The animation stops at frame 3 and I need to press the trigger key again for it to continue.

The last setting Continue After Pause let’s you choose if you want to click the trigger key again for the animation to continue (When Triggered) or you want to pause by holding the trigger key and let the animation finish by releasing it (When Trigger Released). It’s a matter of preference really. I will choose the second one.
That is all for today! With the behaviors we’ve learned today we can create a ton of fun stuff. Don’t hesitate to experiment or ask questions if you need to.
Continue with more Adobe Character Animator tutorials: