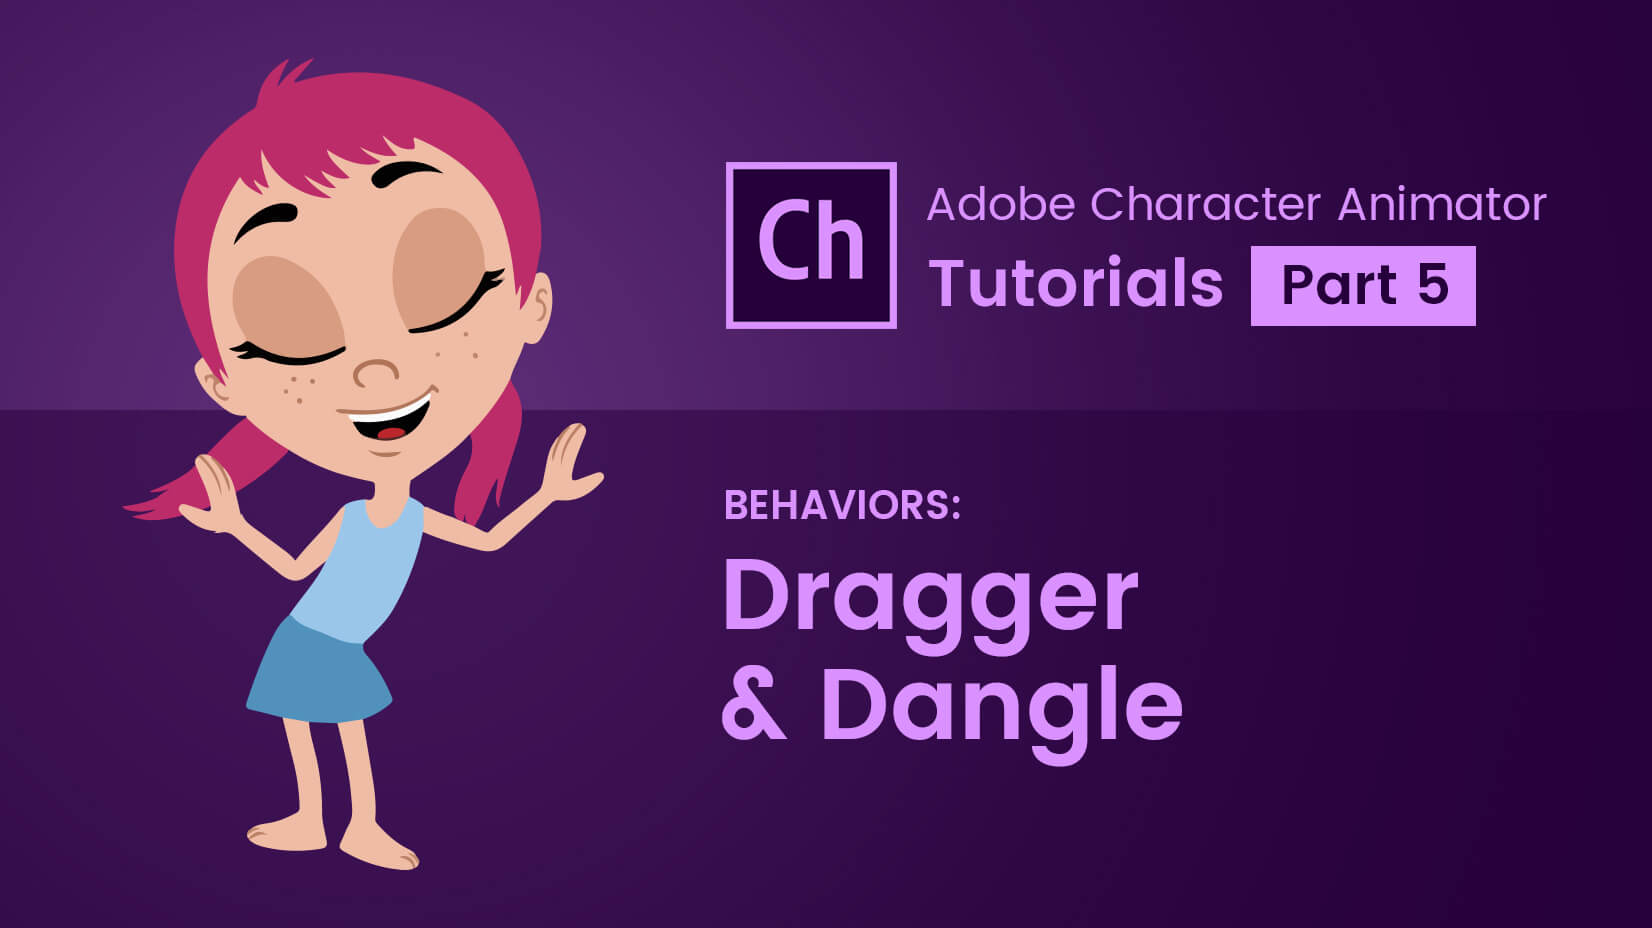
Welcome back to our Character Animator tutorial series! Today we will start an exciting new topic – Behaviors. The Behaviors are one of the most important features of Character Animator, they can help you create great-looking animation in an easy and fun way.
This time we will look at two Behaviors – Dragger and Dangle. If you have followed our last tutorial, right now you may be thinking to yourself- but wait, weren’t Dragger and Dangle tools?
Yes, there are tools with the same names, but today we are looking at the Behaviors that control them.
In this article:
1. Dragger Tool
2. Dangle Tool
To learn about Keyboard Triggers and Cycle Layers check out Character Animator Tutorials Part 6: Behaviors 2
1. Dragger Tool
First we need to open Rig mode, and then click on the little puppet icon in the Puppet panel.

In the Properties panel appear all the Behaviors that our puppet, Vicky, has by default. In the following tutorials we will go through all of them and more, but for now let’s focus on Dragger.

When you open this behavior you can see all of its settings. Target Handles shows you where you have used the Dragger Tool. As you can see here, we have applied this behavior to Vicky’s arms. Next, After Move let’s you choose what the arm should do after being moved. You can make it return to the rest of the body, or hold in place. Let’s see how these options look.
You can experiment with the hold in place option and create different effects. The last setting of the Dragger tool is the Return Duration. You can choose how long it takes for the arms to return to the body.

Let’s see what we can do with it.
With 0 seconds to return to the body, the movement of the arm looks unnatural. But having too much time – 3 seconds, also looks weird. I prefer using 0,5 seconds, but 1 second looks good too. It’s up to you!
Before we move on let’s check something else we can do with the Dragger tool. That tool is mainly used for controlling the arms but it has other options that can create interesting movements.
As you can see, by adding a dragger handle on Vicky’s hips, now we can do this dance-like movement. In combination with the hold in place option for the arms we can create something interesting. I will let you try this on your own and move on to the Dangle behavior.
2. Dangle Tool
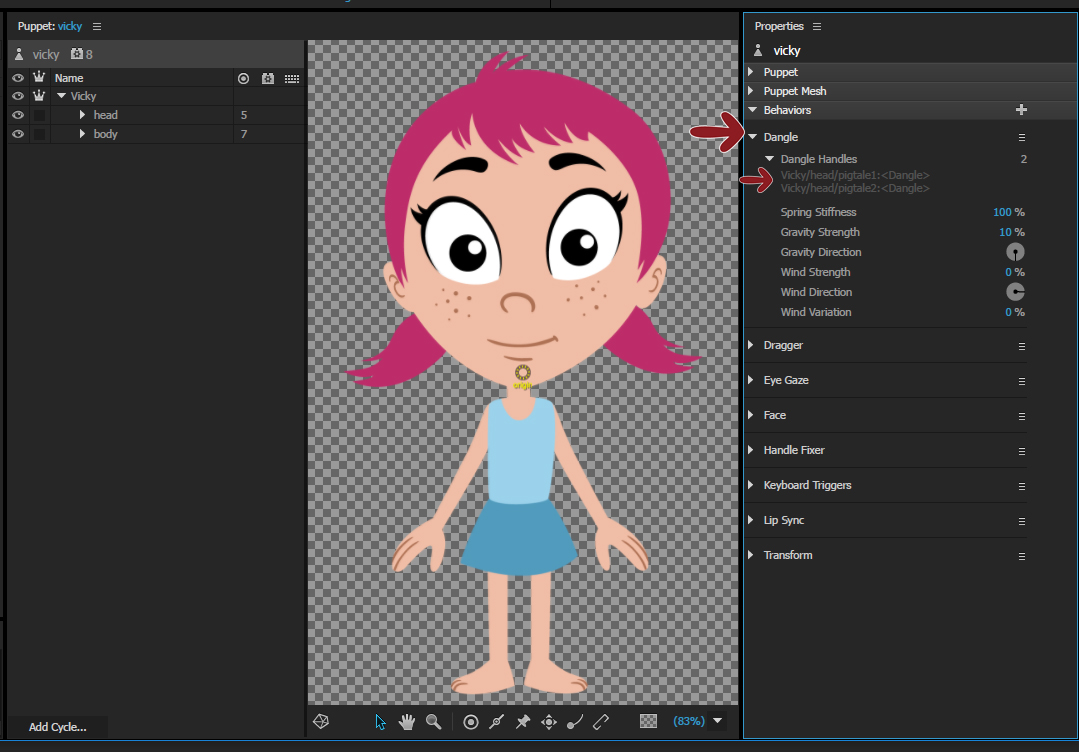
Opening the Dangle options we can see, that once again we have the handles used by the behavior shown at Dangle Handles. These are Vicky’s pigtails. Below that, we have Spring Stiffness that indicates how solid the element (using Dangle behavior) is. Right now it’s set at 100%, let’s see what happens when we change it.
When the Spring Stiffness is at 100% the movement of the pigtails is quite limited, but when we decrease the stiffness to 50% you can see how the pigtails start to wave around more freely.
Next is the Gravity Strength. It is set at 10% by default but we can increase it and create a different effect. You can see that you can also change the direction of the gravity with a round slider. This will be fun!
When we change the Gravity Strength from 10% to 60%, you can see how Vicky’s pigtails start to seem much heavier. Also by changing the direction of the gravity we can create the illusion that Vicky is hanging upside down.
The next option is very interesting. The combination between Wind Strength, Wind Direction and Wind Variation can create a nice wind effect.

Let’s see what we can do with it!
Just changing Wind Strength doesn’t look very good but when we also change the Wind Variation we create a very cool-looking wind effect. If we change the wind direction to vertical up, now Vicky looks like she is falling. And by increasing both Wind Strength and Wind Variation up to 200% we have now created a real storm. It looks so good and it’s so easy!
That’s all for this time! Don’t hesitate to combine and experiment with all the options we have learned today! Thank you for following our Character Animator Series! Don’t miss Part 6, where we will continue the topic of Behaviors with another two existing features.
Continue with more Adobe Character Animator tutorials: