
Recently, we’ve presented you with a collection of free cartoon flyer templates that are pretty nice, ready-to-use and the cherry on the top, they are free. These kind of resources are always welcome and appreciated but sometimes they might not feature the layout or something else you need for your design project. This is why we decided to teach you how to create a cartoon flyer template to meet your own business goals by using Adobe Illustrator.
Don’t get scared away by the complexity of the software because in this tutorial we are going to work mainly with text and shapes. The tutorial is absolutely suitable for beginners. We will also occasionally import assets here and there but this is a piece of cake, really.
The one thing you may find confusing about how to create a cartoon flyer template is setting the document for print. If you are a regular GraphicMama blog reader, however, there is a chance you’ve already done that in our tutorial about how to create a monstrous business card. Setting up a document for a flyer template is very similar. We will just be using different dimensions.
1. Set Up The Document
The most common size for flyers is 8.5×11 inches.
Step 1: Create a New Document
Since repetition is the mother of all learning, we are going to walk you through this step one more time.
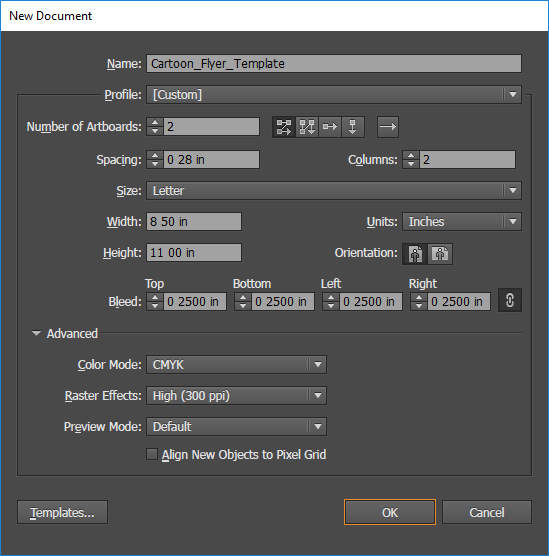 Go to File -> New and you will get the dialog box you see on the left.
Give your document an appropriate name.
Set the Number of Artboards to 2. One for the front side of your flyer and one for its back side.
Choose Inches for Units and set the document’s Width to 8.5 inches and it’s Height to 11 inches.
Set the Bleeds for each side to 0.25 inches. You can find more detailed information about bleeds in our tutorial on How to Make a Business Card Template With Bleeds in Adobe Illustrator.
Expand the Advanced tab and set the Color Mode to CMYK and the Raster Effects to 300ppi.
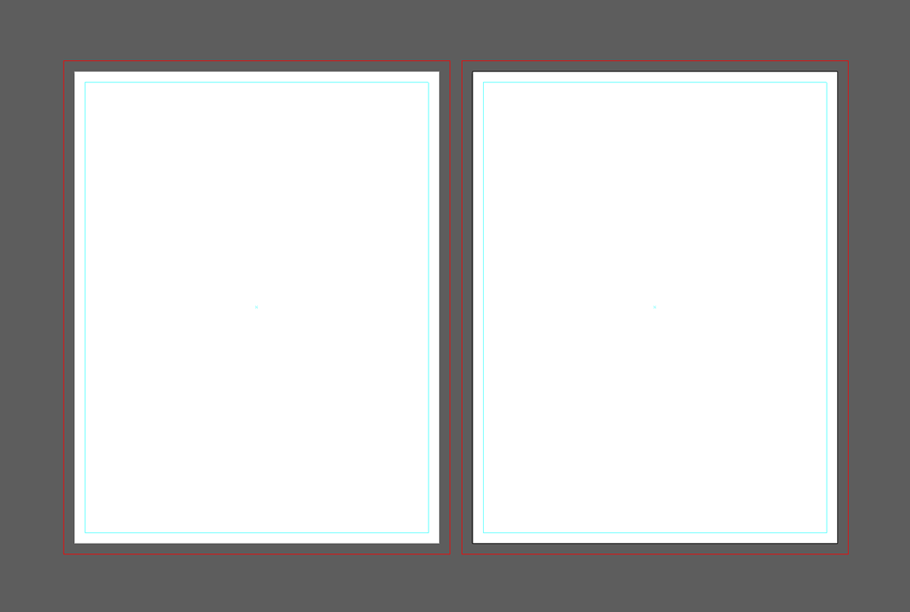
Click that tempting OK button and this is what you will get in your Illustrator canvas:
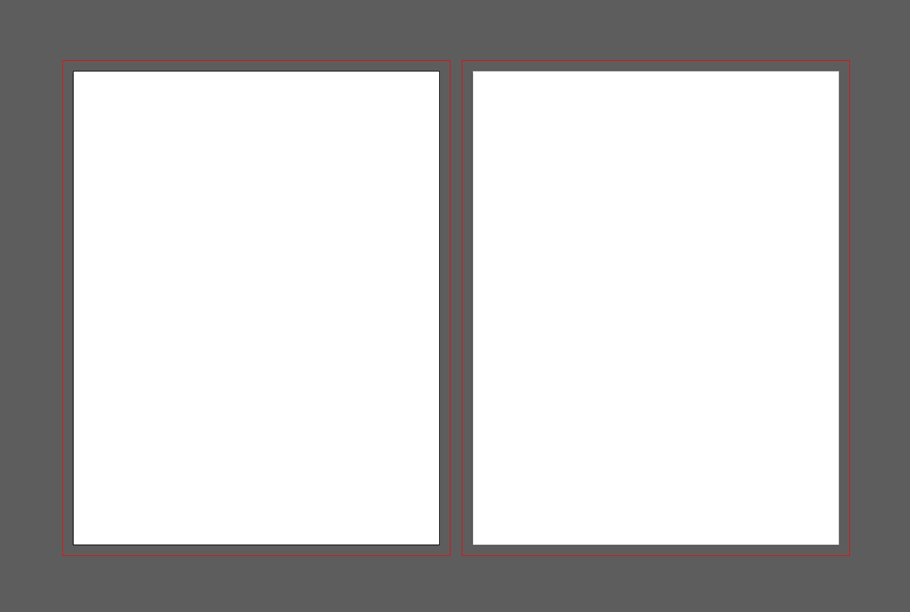
Step 2: Define Your Design’s Safe Area
Again, check out this tutorial if you have no idea what the Safe Area is all about.
Grab the Rectangle Tool (M), click anywhere on the artboard on the left set the rectangles Width to 8 inches and it’s Height to 10.5 inches.
Select the rectangle we’ve just made and align it the very center of the left artboard using the alignment tools from the top bar of Illustrator’s interface.
Repeat the last 2 steps for the right artboard or simply drag the rectangle on the right artboard while holding down the Alt key to make a copy of it. Make sure it’s in the center before proceeding to the next step.
Now that you have these two slightly smaller rectangles centered in your artboards, convert them to guides by selecting both of them, right-clicking and choosing Make Guides from the context drop-down menu.
This is how your document should look at this point:
2. Design Your Flyer
We are going to use the left artboard for our Flyer’s “face”.
You should already have an idea of what you are going after in terms of design. Our goal for this tutorial is to make it as simple as possible. So, we will be using shapes, text and a graphic resources from our website – Nick Smartman.
Step 1: Background
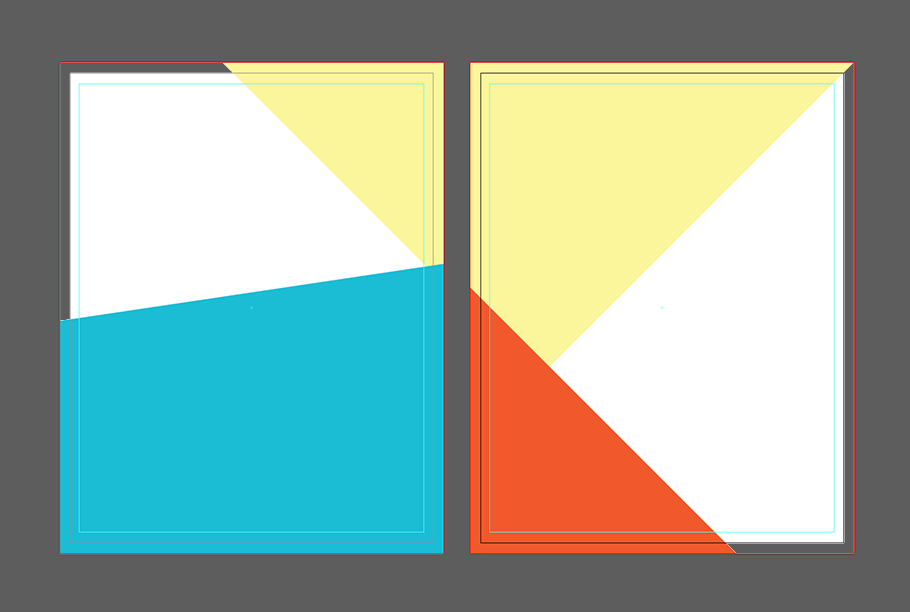
In order to split the document into different sections, which will be filled with content later, we should start with the background.
Divide the face of your cartoon flyer in two parts by creating a 9-inch-wide rectangle. Its height is approximate.
Grab the Direct Selection Tool (A) and then click on the rectangle. Four small corner points will appear in its corners. Click on the top left one and drag it down a bit to make a slope.
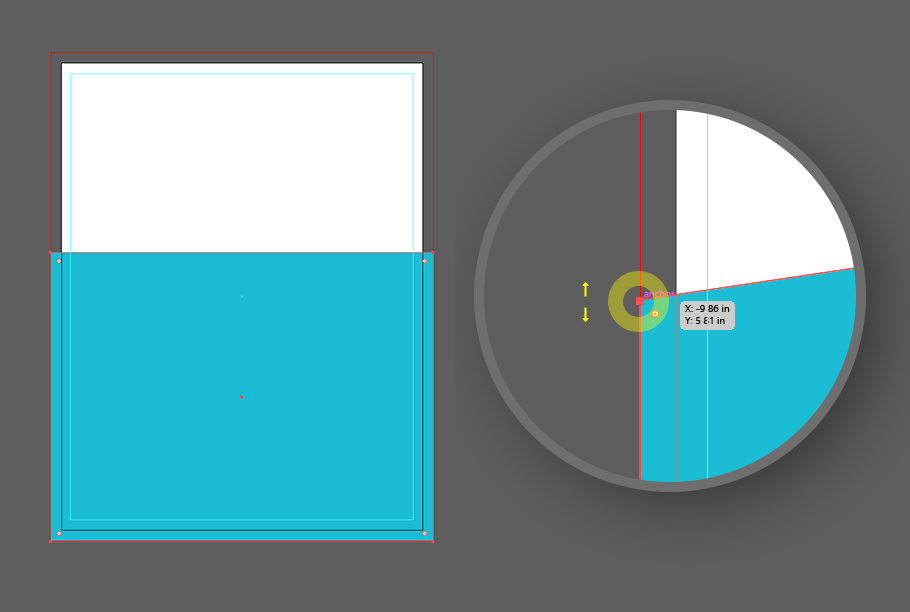
Make sure your background elements are extended all the way to the red guidelines (The Bleeds). This is necessary in order to prevent any white lines from being left on the final flyer after it’s trimmed down to its actual size by the printing company.
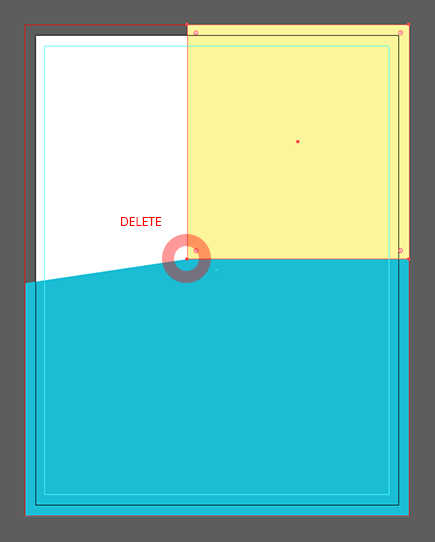
Now you have space for your title and your most important content on the front of your cartoon flyer. This is a cartoon flyer after all, so let’s reserve some space for Nick, our cartoon businessman.
You will have to make a triangle this time, and place it in the top right corner of the artboard. The easiest way to achieve this is to create a square and then delete its bottom left corner point. Then, while the triangle is still selected, press Ctrl + [ one or multiple times until the triangle gets overlapped by the blue shape.
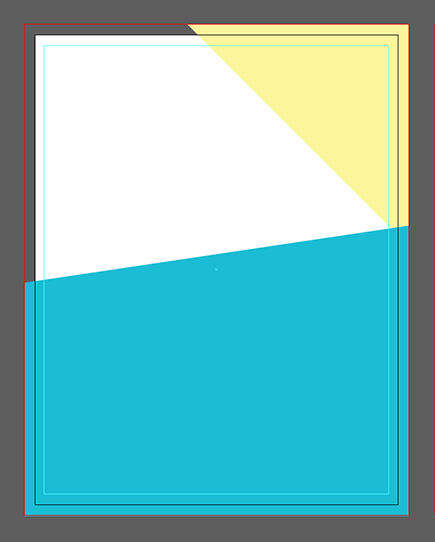
The background of the face of your cartoon flyer is ready and it’s time to move on to the back.
For the back side you will have to create 2 rectangles. Go ahead and try to achieve a result similar to this one:
Step 2: Text
Now that your background is ready it’s time to add the key element of your cartoon flyer – the actual information.
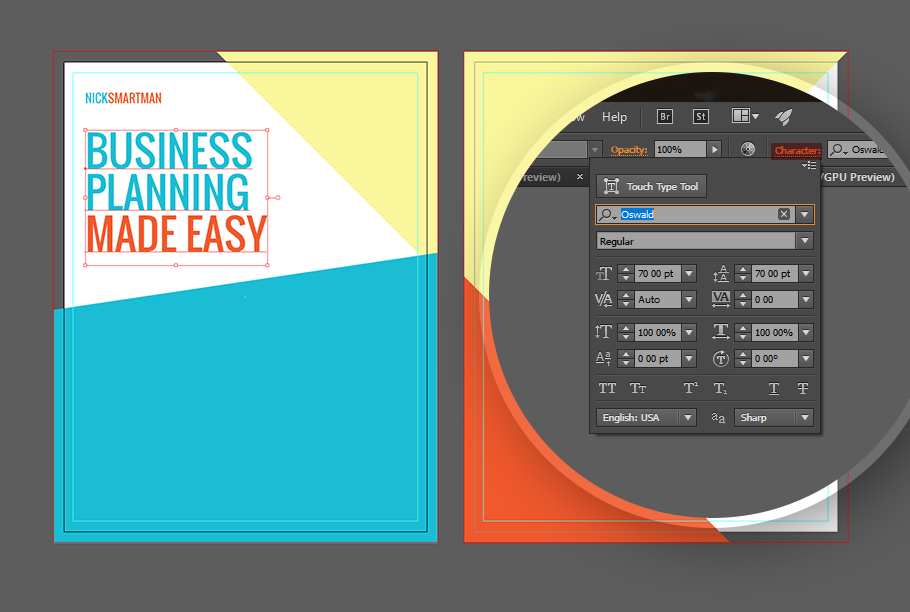
Start with your logo and title.
For the logo we decided to simply use Nick’s full name. Download the Oswalf Font Family from Google Fonts if you want to use the exact same font from this tutorial. If not, you can use any other font from your computer.
Grab the Text Tool (T) and click anywhere on the left artboard. Enter the name of your company and press Esc. Select the text and set it’s font family to Oswald from the field at the top, right next to Character. Right next to this field, on the right, there is an option to choose the Style of the text – Light, Regular or Bold. It’s Regular in our case. Finally, set the font size to 20pt and position the text in the top left corner of the artboard.
Make sure it is in the Safe Area – the light blue (cyan) guidelines.
![]()
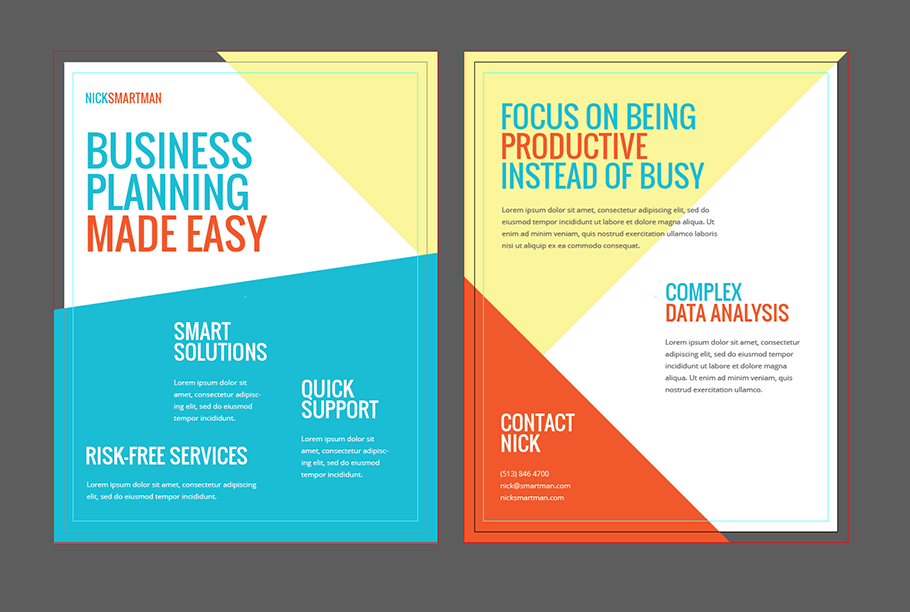
Repeat the same steps for title of the cartoon flyer but this time use a bigger font size so it become more attention-grabbing.
Tip: You can play with font options like space between lines, characters and etc. by clicking on Character in the top options bar.
You got the idea. Go ahead and add the rest of the information on the cartoon flyer.
This is what we came up with:
Step 3: Cartoon Element
The only thing that’s left, is give our cartoon flyer the actual cartoon feeling.
This can be easily achieved by adding a cartoon character to the flyer. A resource that our site has plenty of. We chose Nick for this one.
Placing (importing) images and vector graphics in Adobe Illustrator
- Go to File -> Place, and select the file you want to import to your Illustrator document.
- Select Link to create a link to the file, or deselect it to embed the artwork in the document.
- Click Place.
If you place something in Illustrator as a linked file, you will need to provide the file along with the AI document to the printing company.
Now that we know how to place Nick, let’s go ahead and do that.
Nick is a premium cartoon character from GraphicMama. If you don’t want to buy his set, you can always go to our Freebies and pick something from there.
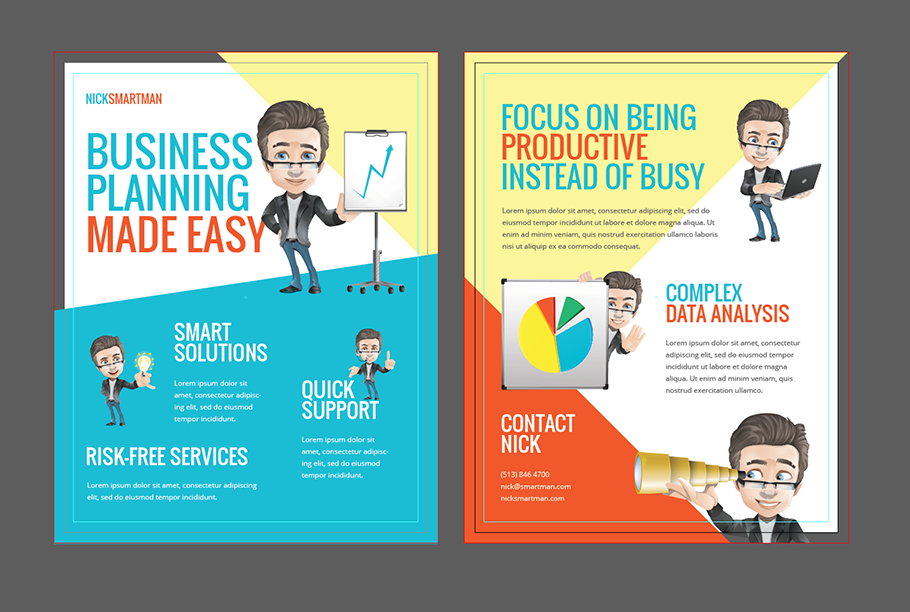
Congratulations! Your cartoon flyer is ready!
3. Exporting the Document for Print
One more thing to do before sending the flyer to the printing company:
- Go to File -> Save As.
- Choose Adobe PDF (*.PDF) from the Save as type drop-down menu.
- Make sure All is selected if you have more than one artboard and then click on Save.
A new dialog box will open.
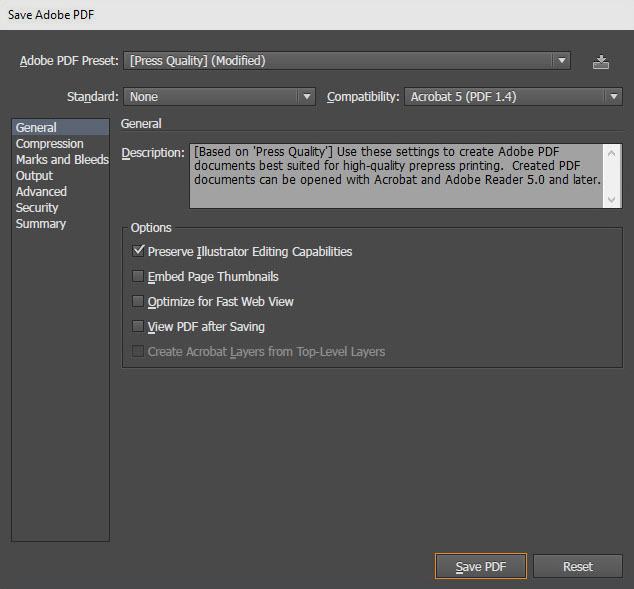
In the General tab, set the Adobe PDF Preset to [Press Quality] and uncheck Optimize for Fast Web View.
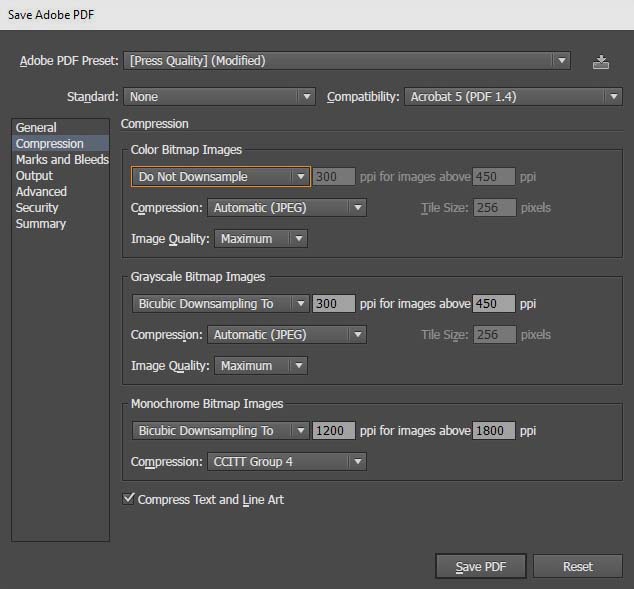
Now, go to the Compression tab and set the Color Bitmap Images to Do Not Downsample in case you have images in your design.
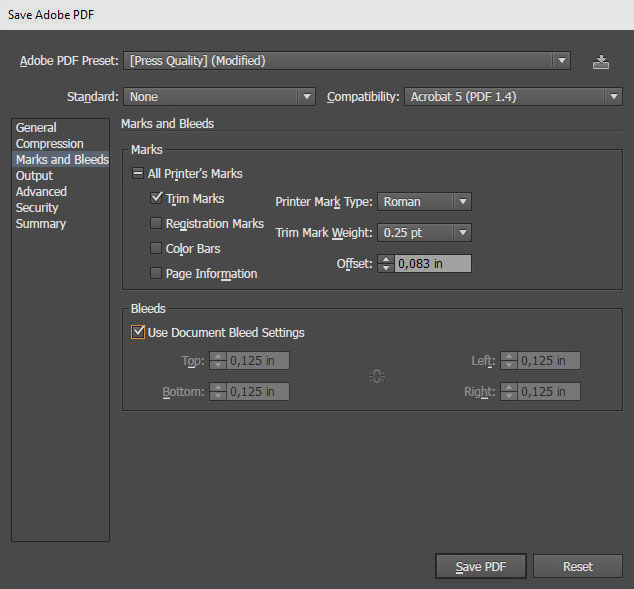
Move on to the Marks and Bleeds tab and check Trim Marks and Use Document Bleed Settings and then click on Save PDF.
Click Save PDF and that’s it!
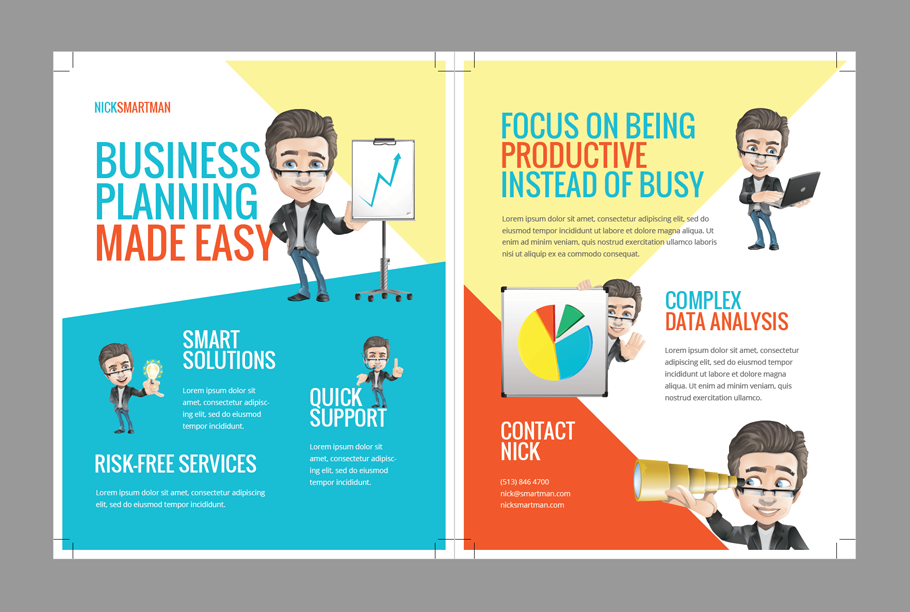
This is what your PDF will look like. Your favorite printing company will be more than happy to work with it.
We hope you liked our tutorial on how to create a cartoon flyer template. Hopefully, we’ve inspired you to create something unique.
You can definitely expect more of these tutorials, stay TOONed! 🙂