Character design matters. Characters are much more than a visual representation of a concept or a mascot that presents a product or a study. In fact, well-made characters have personality and appeal that connect audiences with your story. To create a lovable character that will draw viewers and pique their interest in your product, website, or presentation, is in fact a very complicated process that requires a lot of knowledge and creativity. This is why we chose to break down the character design process and reveal some of the magic behind it.
The process of designing a character is creating the concept and style of that character from scratch. No matter if you’re creating a cartoon character or an entire concept design for game characters, the process takes a lot of work and creativity and requires years of studies and practice to perfect. Even though there isn’t a right way to design a character, there are a few steps in the process that most artists go through when they create their concepts.
In this article, we will walk you through these steps and hopefully shed more light on the process of character design. So let’s see what artists do in order to design characters.
Briefing
This is basically where the artist decides what character they will be making and for what purpose.
If they work for a client, for example, this is the part that includes their communication with the client regarding the project. In this phase, the artist should know the basic characteristics of said character: is it a human, an animal, a creature, or an object. The part also includes a series of suggestions for traits, mentality, and emotions of the character, and the overall mood it will communicate to the viewer.
For example, if the project is an educational presentation aimed at fourth graders, it will require a cute and cheerful character that will appeal to the children. Its overall mood must be very warm and welcoming, even silly and fun.
This phase, depending on the role of the character, is when the artists (or the clients) decide what the characteristics are. Some of those characteristics are:
- What is the character?
- Where is the character from?
- What’s their name and what do they look like?
- What is the character’s dominant trait?
Research
References are absolutely crucial when it comes to character design. Depending on what type of character the artist will be designing, they need to do a lot of research on the real thing before even starting to sketch. For example, you wish to create an animal character. Whether it’s a hedgehog, a sphynx cat, or an eagle, you could try watching a documentary on the animal, read some information about it, and utilize Google for images.
This way, the research will not only give you a full idea of how these animals act, walk, or what makes each one unique but will also immerse you in the subject.

Reference Image Source 1 / Reference Image Source 2 / Reference Image Source 3 / Reference Image Source 5
Let’s say you are creating an eagle aviator. There are two concepts to research here. On one hand, you need to see what makes the eagle distinctive from other similar birds. Pay attention to the shape of the beak, the head and body ratio, and other details you could exaggerate later to make your character undeniably an eagle. On the other, you’ll also research aviator’s uniforms.
Research usually includes the following:
- Reference sheet– it might be in the form of a mood board with references to the elements you need for your character. If you’re making that eagle aviator, the board will include images or real eagles in motion or resting, images of their beak, feathers; photos of retro pilot helmets, glasses, scarfs, jackets and etc.
- Anatomy – In order to create a character effectively, it’s necessary to understand its anatomy and break it down into shapes. When you know how the human, or creature is structured, you are ready to start stylizing it and turn it into a character.
- Style – Your character should also be suitable for the project in terms of style. In short, it shouldn’t look alien in the middle of its surroundings or universe no matter if it’s for a video, animation, or a website. Choose the style that will fit your project. It might be flat, more detailed, semi-realistic and etc.
- Mood– How does your character fit and what does he bring to the story or project? Is your character a merchant, a client, an educator, or something else? Is he smart, joyful, formal, or goofy? The overall vibe is also an important thing to take into consideration in the design.
Sketching
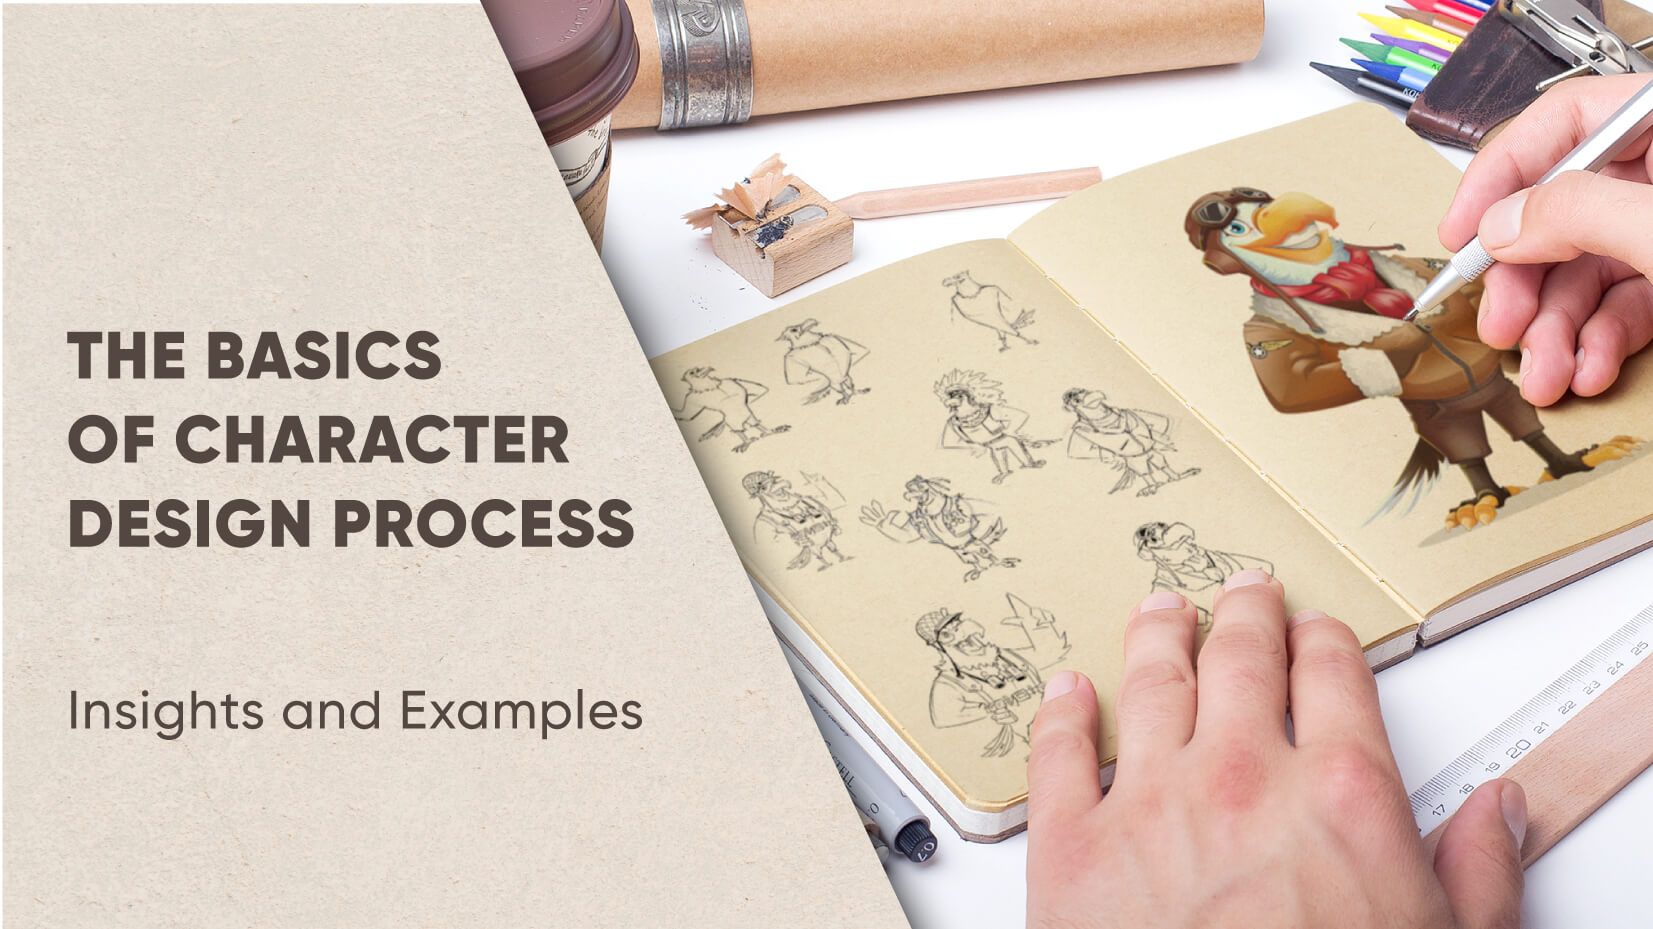
Let’s start with a rough version of your character design where you have the most freedom. You can sketch and brainstorm the basic shape of the character without being concerned about the lines or the final look.
Tip: The more sketches you make, the better you will feel and understand your character and the easier you will create the best final version.
Shapes
The shape is the solid base of the character and you can adjust it, and draw different variations until you decide on the final look. Most artists start with just that: drawing small thumbnails of their concept before starting to add any details.
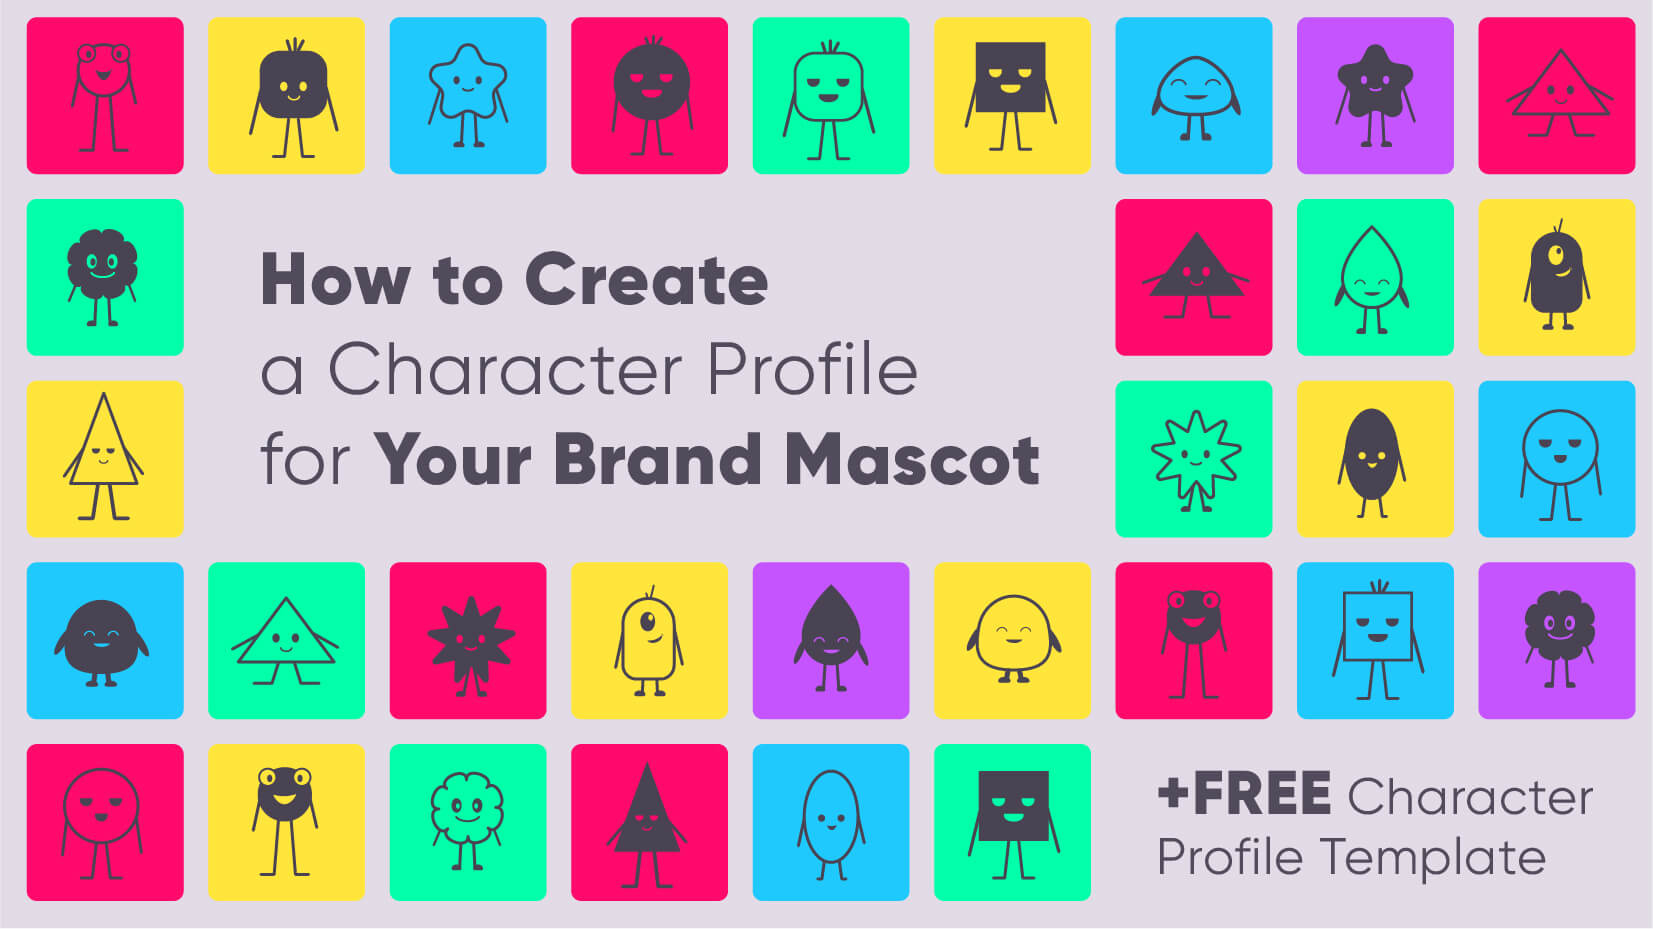
To illustrate that the shape is the core of your character design here’s an example of how any kind of shape can be instantly imagined as a character.
Construction
The overall construction will make sure your base shape stays strong and will determine the proportions.
When you choose the overall style or styles, it’s time to add details that will bring that shape to life. Depending on the character, this may include adding clothes and hair, facial styles, and props.
As in the example above, the artists had already chosen a shape and construction for the small girl and has added hair and clothes. In addition, the creator has also tried out different facial expressions to bring further life into the concept and the very temper and mood of the character. This brings us to the next important step, which is making different views as reference materials.
Also known as a model sheet for the final design for the character, this is where the artist either rotates the character into different views or gives it different poses to show it in action.
In this phase, we can summarize the work into a few steps:
- Thumbnailing the base shape: the artist will break down the character into simple lines and shapes.
- Constructing the anatomy: this is where the artist will roughly create the anatomy by adding body landmarks.
- Adding details: during this step, the artist adds specific details and features like nose shape, ears shape, hair, clothes, and more.
- Creating a model sheet: this may include the character in different poses to show it in action, or a rotation of the model to show it in profile, 3/4 view, and back.
Color Schemes
The last step in character creation is choosing a suitable color palette that reflects everything the character represents, from its personality to the concept of the project it will be used in.
In some cases, the character is a mascot of a brand. Therefore, it would be natural for it to wear the brand or product colors, or to complement those colors well. In other cases, where the character is a part of a presentation, it’s also logical to sport the organization or education center colors. When it comes to characters for animation movies, the palettes comply with the overall palettes of the movie.
In the end, it’s important for the colors to reflect what the character stands for. A bunny character for an educational video for kids will not sport dark or neutral color schemes that are more suitable for business presentations.
It’s important to keep in mind the concept of color psychology and the emotions that color communicates as a tool of conversion. Dynamic characters require more energetic and joyful colors such as orange, while more collected or dark and mysterious characters usually sport neutral and royal colors such as black and purple.
Tip: Keep the color scheme simple and don’t overwhelm it with unnecessary colors that can overload the character and take away from their personality.
Tip and Tricks on Character Design
It’s all subjective when it comes to choosing the “right” method to make a character. However, there are some tips that could improve the final result in terms of how it’s perceived by the audience. To create characters that will be appealing to bigger audiences, you may not be surprised at all to know that what goes to any sort of design in marketing applies to the characters as well.
Analyze Other Characters
For starters, in order to know why and how something works, you got to break it down. Artists always analyze successful characters to see what makes them great. They also analyze less successful ones to see why they fail to connect with audiences. This not only gives invaluable insight but also inspiration.
Simple Yet Effective
This is a golden rule for design in general. Details are awesome, sure, especially in character design. We all love those complex beautiful armors on fantasy characters in RPGs, however, these rich designs often take away the attention from the character and bring it to the armors and weapons instead.
If you want your audiences to focus on your character and the concept you wish to present through it, make sure not to get caught in complexities. Let the character have fewer accessories or objects, fewer different pieces of clothing, and fewer colors.
Distinctive Silhouette
On the topic of creating the base shape while thumbnailing, this is the phase where artists have the opportunity to make their characters really stand out. Characters like Micky Mouse, Sonic, Johnny Bravo, the Powerpuff girls, or commercial mascots like Michelin man or the Nesquik Rabbit are instantly recognizable even as silhouettes. Their shapes are unique and definitive, and this is key to make a character memorable and successful.
Experiment with Proportions
You have also noticed that most famous characters, especially in cartoons almost never have realistic proportions. Usually, artists exaggerate features in order to give more personality to a character. Take Johnny Bravo for example. His upper body is much larger and more muscular compared to his legs. This is something that creators usually do for more masculine characters since the upper body strength is a symbol of that masculinity and exaggerating it makes it more distinctive.
Exaggeration improves the design in making it more eye-catching. Does your character have big hands? Make them bigger. Do they have long legs? Make them longer. Big hooked nose? Go ballistic on those shapes.
Expressiveness
A truly complex character is one that has the ability to show strong emotion and expression. It’s no wonder why we usually think of expressive people as “animated”. Especially in cartoons, characters with such ability can communicate your messages better and infect audiences with their mood.
Line Purpose
The lines also add to the personality and have a unique quality to describe the character’s attitude. Softer, even and round lines make a character more approachable, childish, and cute, while sharp uneven lines unveil a more uneasy personality. Lines also play a huge role in how the character is perceived by the audience in terms of appeal. Straight simple lines allow the eye to move quickly. More detailed curvy lines slow it down. With that, it’s a great technique to balance them. This will also perfect the silhouette and overall shape of the character.
In the meantime, you might also be interested in checking out our article on the 5 easy ways to make your own cartoon character, for non-illustrators.
Character Design Process Examples
With the character design process broken down into basic steps, let’s jump into some examples.
You could also see some amazing inspirational examples of flat-style characters.
Final Words
The process of creating a character for your brand, presentation, or video, is a very complex chain of steps that requires lots of creativity and practice. Surely, don’t let that discourage you if you’re not an illustrator but wish to create your own character. You can always doodle your concepts and seek the assistance of an artist for the technical part. We hope you enjoyed diving into the basics of the character design process and the lovely examples by talented illustrators. On the topic, in case you’re looking for a character designer, here are your options, listed and explained in another article.
You may also be interested in some of these related articles:


